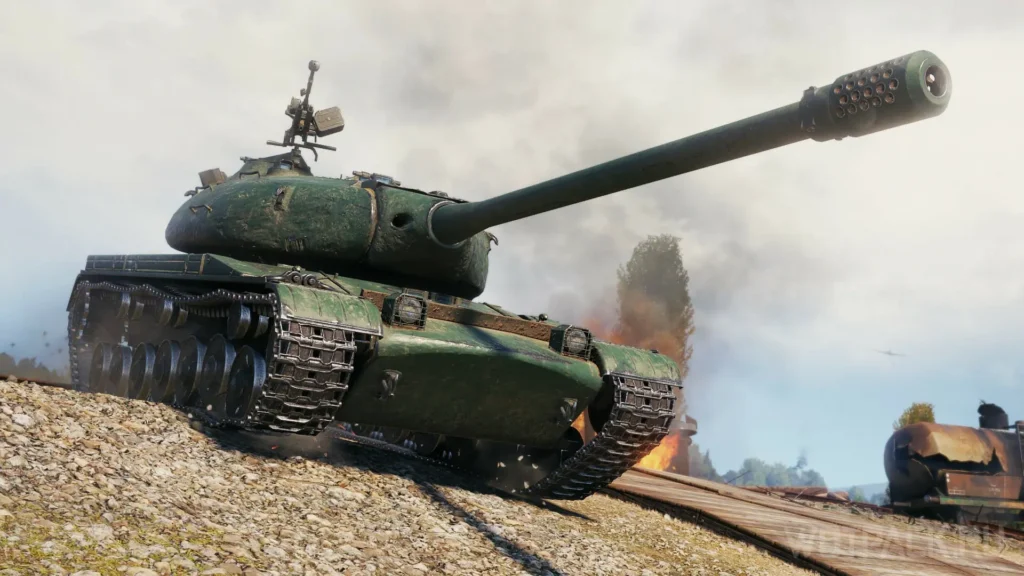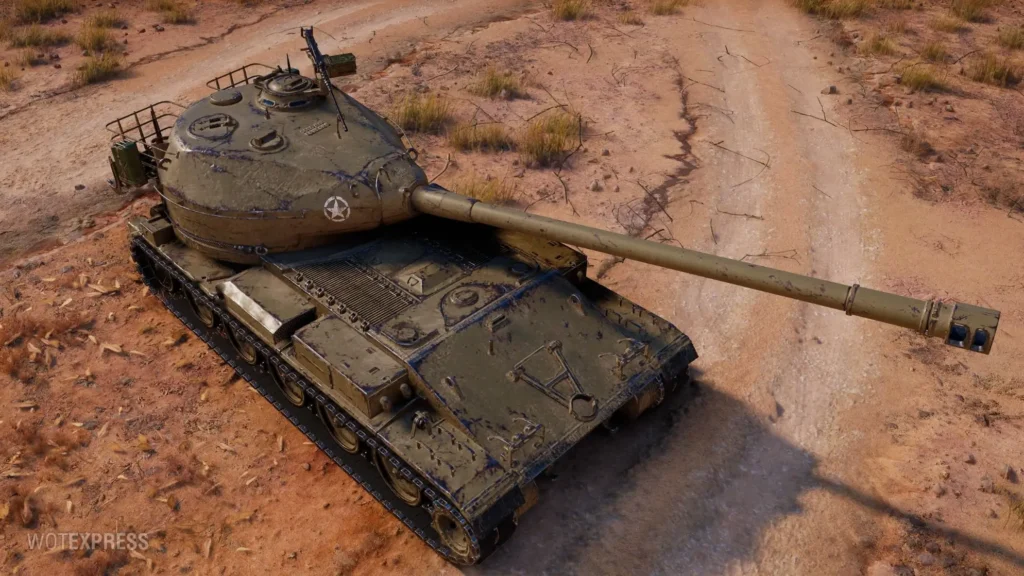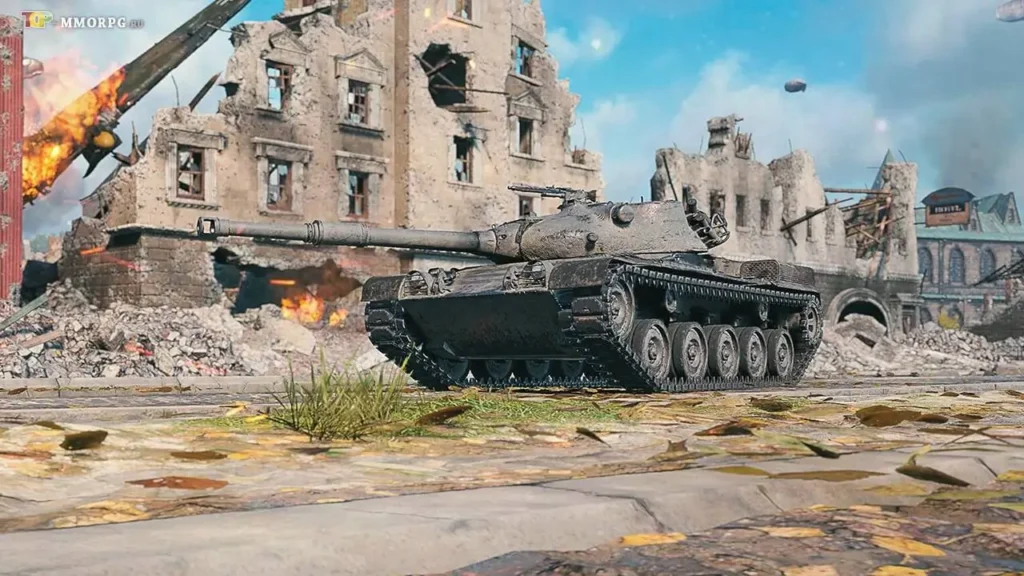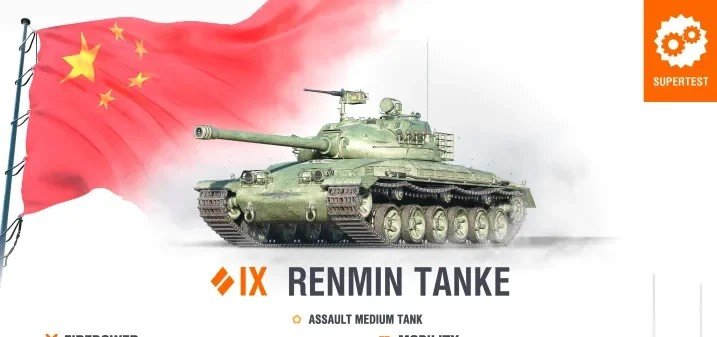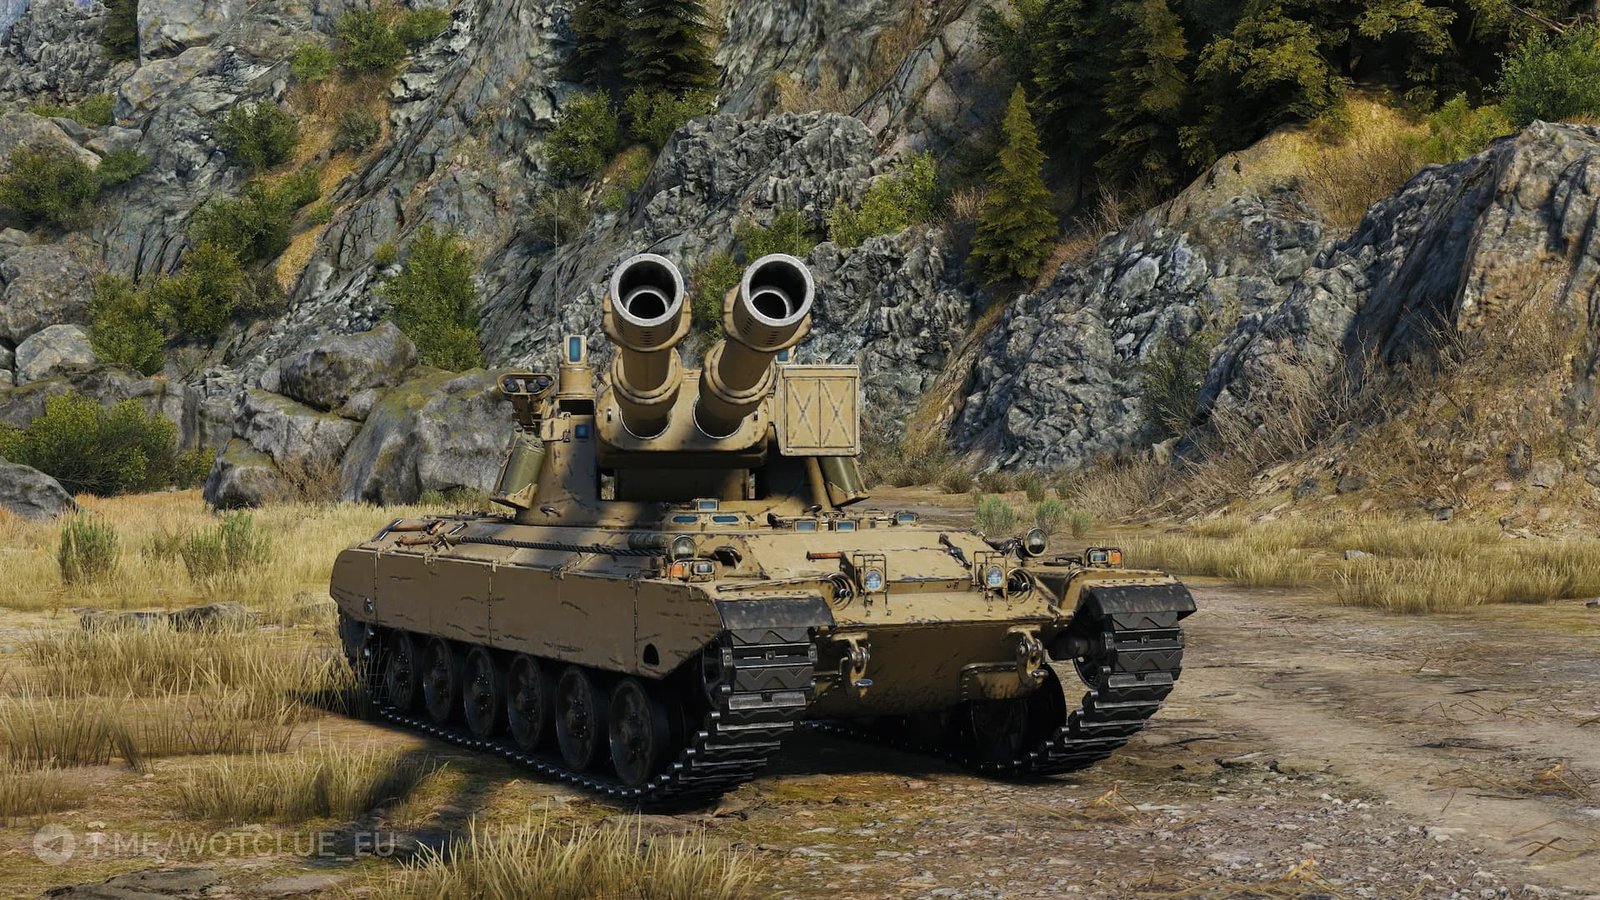
The World of Tanks Supertest has welcomed a fascinating addition to the Chinese heavy tank lineup: the Yongshi, a Tier X versatile heavy tank whose defining characteristic is its sniper-heavy hybrid identity. For players who appreciate Chinese armor philosophy but want something genuinely different from the rocket-boosted BZ line or the traditional WZ-111 5A playstyle, the Yongshi offers an intriguing package built around precision firepower, solid side armor for angle play, and flexible positioning capabilities.
650 HP Alpha Damage: Precision Devastation
The Yongshi’s primary weapon delivers meaningful punch with exceptional accuracy:
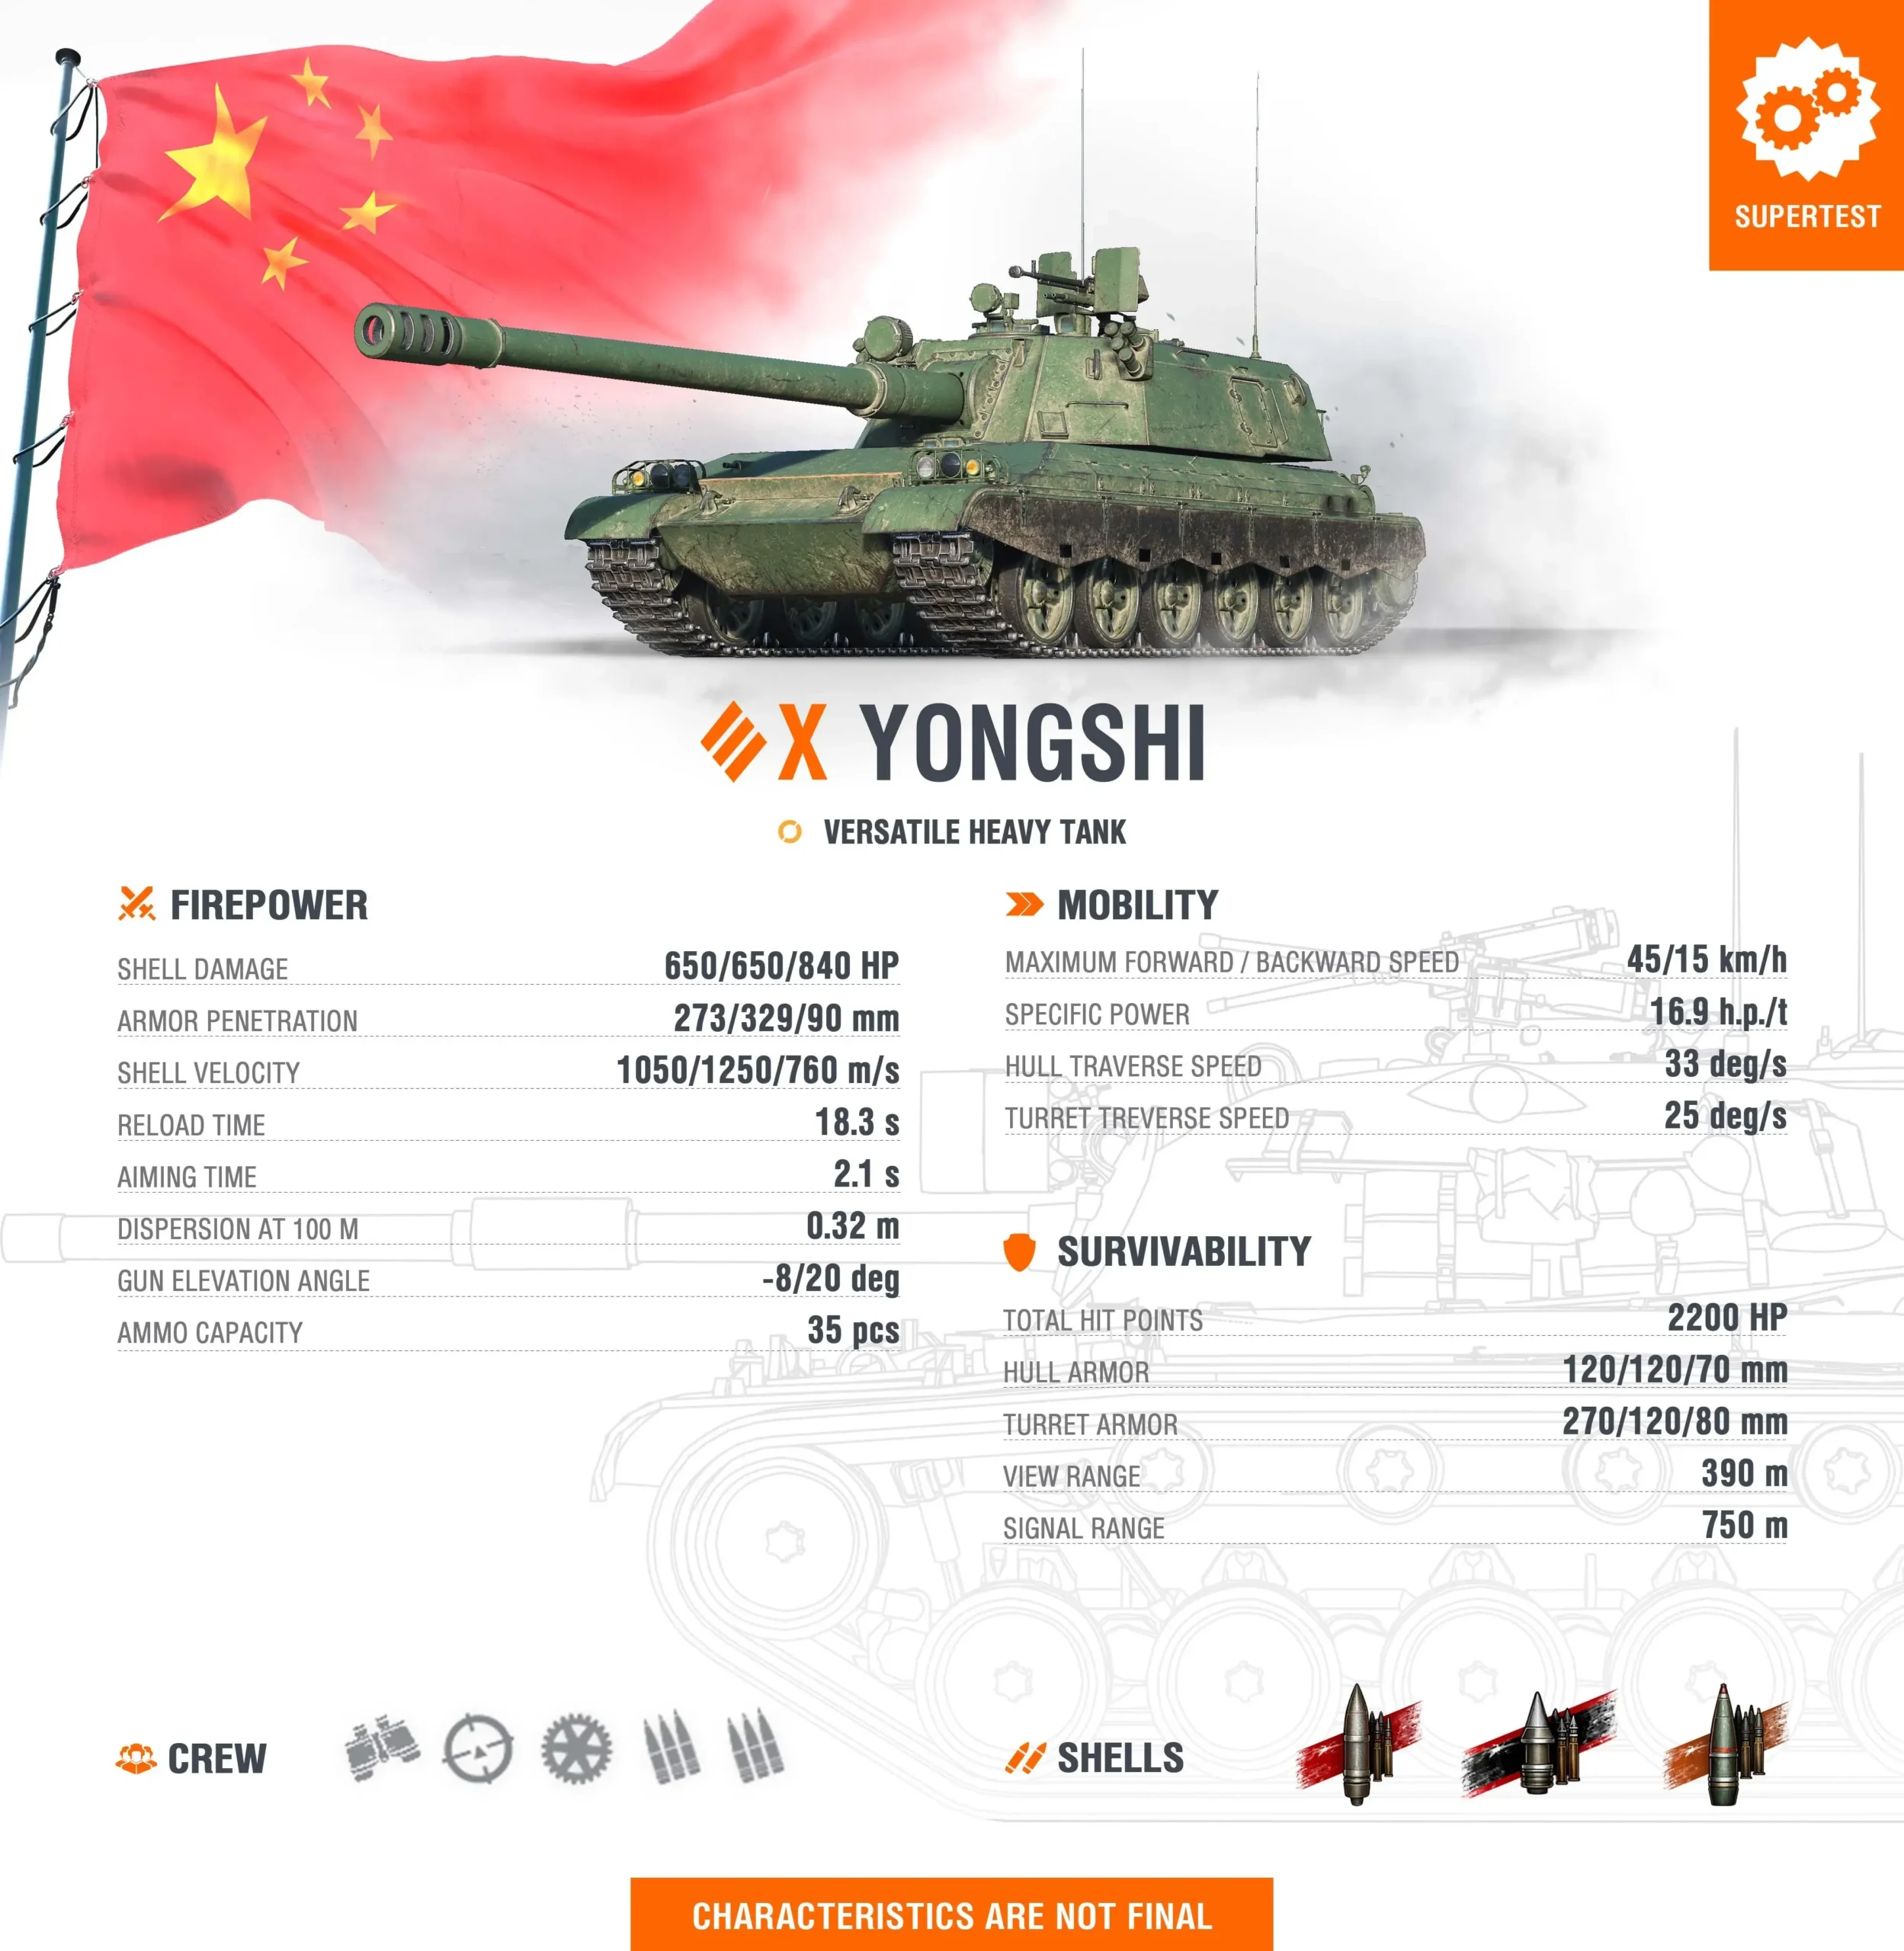
650 HP Per Shot: The alpha damage sits in the premium tier of Tier X heavy tanks, delivering more damage than standard 122mm guns (440 HP) and 130mm weapons (560 HP), while remaining below the super-heavy 152mm guns (750+ HP). This sweet spot creates meaningful trades without sacrificing other performance characteristics.
High-Alpha Category: At 650 HP, the Yongshi delivers more damage per shot than the vast majority of Tier X mediums and many heavy tanks. This alpha enables two-shot eliminations of wounded opponents and creates psychological pressure in every engagement.
Trading Power: The substantial alpha damage creates favorable trading scenarios. Even when trading 1-for-1 with opponents carrying lower alpha weapons, the Yongshi comes out ahead in HP exchange, gradually building advantages through disciplined engagement selection.
Burst Potential Without Commitment: Unlike autoloaders that commit entire clips, the Yongshi can deliver a single devastating 650 HP shot and immediately retreat to cover, minimizing exposure while maximizing impact per engagement.
Finish Capability: The 650 HP alpha is perfectly positioned to finish wounded opponents who have taken damage from teammates. Many tanks that survive with 300-500 HP can be eliminated in a single Yongshi shot, enabling efficient cleanup work.
Excellent Penetration: Confident Engagement
The Yongshi brings penetration values that enable reliable damage delivery:
Excellent Penetration Values: While specific numbers have not been officially released, the Yongshi is described as having “excellent penetration,” suggesting values competitive with or exceeding the standard Tier X heavy tank range of 250-270mm for standard ammunition.
Premium Ammunition Viability: With excellent base penetration, the Yongshi likely carries premium rounds in the 320-340mm range, enabling confident engagements even against super-heavy tanks and heavily-armored positions.
Reduced Gold Dependency: High standard penetration reduces reliance on expensive premium ammunition, improving credit earnings and enabling more sustainable gameplay for commanders without extensive credit reserves or premium accounts.
Frontal Engagement Capability: Excellent penetration enables the Yongshi to challenge opponents frontally when necessary, rather than being forced into pure flanking or support roles. This flexibility is essential for a versatile heavy tank.
Reliable Damage Output: High penetration combined with good accuracy creates consistent damage delivery. The frustration of bouncing shots off seemingly vulnerable targets is minimized, enabling commanders to focus on positioning and target selection.
Good Aim Time and Stability: The Sniper Heavy
The Yongshi’s gun handling characteristics enable long-range effectiveness:
Good Aim Time: Fast aim time enables the Yongshi to snapshot effectively and quickly acquire targets after repositioning. This characteristic supports both aggressive peek-and-shoot gameplay and responsive target switching in dynamic engagements.
Excellent Gun Stability: Good dispersion values and stability characteristics create a weapon platform that maintains accuracy while moving, rotating the turret, and traversing the hull. The Yongshi can fire confidently during tactical maneuvers without excessive bloom penalties.
Sniper Heavy Classification: The combination of 650 HP alpha, excellent penetration, good aim time, and stability creates a heavy tank that can effectively engage targets at medium-to-long range. The Yongshi functions as a sniper when battlefield conditions demand it.
Flexible Engagement Ranges: Unlike pure brawlers limited to close-quarters combat or dedicated snipers ineffective at short range, the Yongshi performs across the engagement spectrum. It can snipe from distance or brawl up close as situations develop.
Accuracy Reliability: Good gun handling reduces the frequency of frustrating fully-aimed shots that miss due to dispersion. The Yongshi’s shells go where you aim them more consistently than vehicles with poor accuracy characteristics.
8 Degrees Gun Depression: Terrain Exploitation
The Yongshi offers meaningful gun depression for a Chinese heavy tank:
8 Degrees of Gun Depression: While not matching the legendary Swedish or American depression values, 8 degrees is exceptional for Chinese heavy tanks and enables effective ridge-line fighting and terrain exploitation across most maps.
Chinese Heavy Tank Improvement: Traditional Chinese heavies suffer from limited gun depression (typically -5 to -6 degrees), forcing commanders into flat-ground engagements. The Yongshi’s 8 degrees opens tactical options previously unavailable to the nation.
Ridge-Line Capability: The improved gun depression enables hull-down positioning from hills and ridges where the strong turret armor (inherited from the 114 SP2 design) can be leveraged while protecting the hull from return fire.
Versatile Positioning: The 8-degree depression allows the Yongshi to fight effectively from slopes, uneven terrain, and elevated positions that would force standard Chinese heavies into unfavorable angles or complete withdrawal.
Peek-and-Shoot Efficiency: Combined with good aim time, the 8-degree depression enables effective peek-and-shoot tactics from covered positions. The Yongshi can crest hills, quickly aim, fire its 650 HP shot, and retreat before opponents respond effectively.
120mm Side Armor: Side-Scraping Potential
The Yongshi brings meaningful side armor protection:
120mm Side Armor: The side armor thickness is substantial for a Tier X heavy tank and enables effective side-scraping tactics when properly executed. This protection transforms the Yongshi from a purely hull-down vehicle into one capable of angle fighting.
Side-Scraping Viability: The 120mm sides combined with proper angling can bounce standard ammunition from many opponents and even resist some premium rounds when the geometry is favorable. This capability enables aggressive corner fighting.
Angle Play Discipline: The side armor creates opportunities but demands discipline. Over-angling exposes the relatively weaker rear armor, while under-angling wastes the protection potential. Mastering the optimal angle is essential to maximizing this characteristic.
Urban Combat Enhancement: On city maps and close-quarters environments where side-scraping opportunities are abundant, the 120mm side armor significantly enhances the Yongshi’s survivability and enables aggressive position-holding.
Turret-Hull Synergy: The strong turret armor (inspired by the 114 SP2 design) combined with meaningful side protection creates a vehicle that can angle fight from corners while maintaining frontal threat capability with the turret.
Decent Mobility: Responsive Positioning
The Yongshi offers adequate mobility for a Tier X heavy tank:
Decent Mobility Profile: While specific values have not been released, the “decent mobility” designation suggests the Yongshi maintains competitive speed and agility for Tier X heavies, likely in the range of 35-45 km/h top speed with appropriate power-to-weight ratios.
Repositioning Flexibility: Adequate mobility enables the Yongshi to respond to developing battlefield situations, relocate between firing positions, and support different flanks as needed. The vehicle is not locked into initial position commitments.
Sniper-Heavy Support: The mobility complements the sniper-heavy role by enabling movement between premium long-range positions and supporting tactical withdrawals when enemies push aggressively or flanks collapse.
First-Position Capability: Decent mobility allows the Yongshi to reach advantageous positions early in battles, securing key ridge lines or firing positions before slower opponents arrive and establishing control over critical areas.
Tactical Versatility: The combination of decent mobility and flexible gun characteristics enables the Yongshi to adapt playstyles mid-battle—sniping when opportunities exist, relocating to angle-fight when situations develop, and withdrawing when prudent.
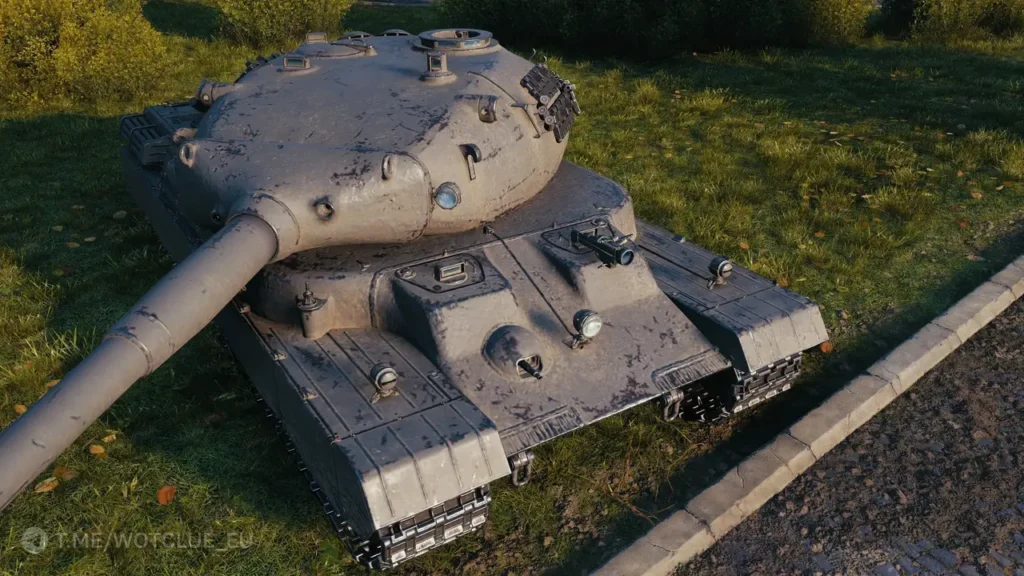
114 SP2-Inspired Turret: Formidable Protection
The Yongshi inherits turret design elements from the notorious 114 SP2:
114 SP2 Design Lineage: The turret is described as similar to the “heavy tank version of the 114 SP2,” suggesting it inherits the exceptional turret armor characteristics that make the 114 SP2 tank destroyer so formidable in hull-down positions.
Strong Frontal Turret Armor: If the design truly mirrors the 114 SP2’s turret characteristics, the Yongshi likely features extremely thick frontal turret armor with excellent shaping, creating near-impenetrable protection when hull-down and properly positioned.
Hull-Down Excellence: The combination of strong turret armor and 8-degree gun depression creates devastating hull-down capability. Enemies facing a hull-down Yongshi must either flank, wait for mistakes, or accept unfavorable trades.
Turret Weaknesses Management: The 114 SP2 features vulnerable cupolas and specific weak points. If the Yongshi inherits these characteristics, commanders must master turret positioning and weakpoint concealment to maximize protection.
Psychological Advantage: A turret design based on the 114 SP2 immediately signals to opponents that frontal turret shots are likely to bounce, creating hesitation and forcing enemies into unfavorable engagement choices or extended flanking attempts.
Lower DPM: The Alpha-Accuracy Trade-Off
The Yongshi sacrifices sustained damage output for per-shot impact:
Lower DPM Classification: The explicitly mentioned lower damage-per-minute indicates the Yongshi will not match sustained-fire heavy tanks like the Super Conqueror or Object 277 in prolonged engagements. The reload time is likely in the 13-15 second range.
Quality Over Quantity: The Yongshi’s design philosophy prioritizes devastating individual shots (650 HP) with excellent accuracy over rapid-fire sustained damage. Each shot must count, rewarding careful aim and target selection.
Engagement Discipline: Lower DPM demands disciplined engagement management. The Yongshi cannot win DPM races against rapid-fire opponents, requiring commanders to leverage alpha, armor, and positioning rather than attempting to out-trade through fire rate.
Peak-and-Retreat Optimization: The lower DPM is less punishing when playing peek-and-shoot styles. Since the Yongshi delivers its damage in fewer, larger chunks, it spends less total exposure time compared to vehicles needing multiple shots for equivalent damage.
Support Role Suitability: Lower DPM is less critical in support roles where the Yongshi leverages its sniper capabilities to deliver precise shots from second-line positions rather than engaging in sustained frontline brawls.
Methodical Frontline Pressure
The Yongshi’s design philosophy emphasizes calculated, flexible gameplay:
Versatile Heavy Identity: The “versatile heavy tank” classification indicates the Yongshi adapts to battlefield conditions rather than forcing a single playstyle. It can snipe, hull-down fight, angle-scrape, or frontline brawl as situations demand.
Sniper-When-Possible Philosophy: The exceptional gun handling and accuracy suggest the Yongshi prefers medium-to-long range engagements where its precision firepower creates advantages without exposing its lower DPM in close-quarters trading.
Ridge-Line Preference: The combination of 8-degree depression and strong turret armor creates clear preference for ridge-line positions where the Yongshi can leverage its protective characteristics while delivering accurate 650 HP shots.
Calculated Aggression: The 120mm side armor enables aggressive plays in urban environments and close-quarters situations, but the lower DPM demands these commitments be carefully considered rather than impulsive.
Positioning Flexibility: Unlike specialized tanks locked into specific roles, the Yongshi’s versatility enables commanders to read battlefield developments and position accordingly—sniping when safe, angle-fighting when necessary, hull-down when terrain permits.
Tactical Considerations
The Yongshi’s unique characteristics create specific tactical opportunities:
Range Selection: Continuously evaluate optimal engagement distances. At long range, leverage the sniper-heavy capabilities. At medium range, use terrain for hull-down fighting. At close range, employ side-scraping and angle techniques.
DPM Avoidance: Never commit to sustained DPM trading against rapid-fire opponents. The Yongshi wins through alpha, accuracy, and armor—not fire rate. Break contact when opponents try to force DPM races.
Turret Positioning: Master the turret’s weak points (likely inherited from 114 SP2) and learn positions where these vulnerabilities can be hidden while maintaining offensive capability.
Ammunition Economics: The excellent penetration reduces premium ammunition dependency. Reserve gold rounds for super-heavies and critical situations rather than using them routinely.
Mobility Leverage: Use the decent mobility to rotate between sniping positions, relocate when spotted, and respond to battlefield developments rather than remaining static throughout engagements.
Playstyle Implications
The Yongshi rewards commanders who embrace adaptive, position-focused gameplay:
Flexibility Over Specialization: Success requires reading battlefield conditions and adapting tactics. The Yongshi performs across multiple roles but excels when commanders leverage the right capability for each situation.
Precision Over Volume: The lower DPM combined with excellent gun handling rewards careful aim and shot selection. Missing shots or firing at low-percentage targets wastes the Yongshi’s potential.
Hull-Down Priority: When terrain permits, prioritize hull-down positions where the strong turret armor and 8-degree depression create maximum advantage. These positions transform the Yongshi into a nearly impenetrable damage dealer.
Patience in Trading: The 650 HP alpha enables favorable trades even at 1-for-1 exchange rates against lower-alpha opponents. Exercise patience—delivering one perfect shot beats missing two rushed attempts.
Commanders looking to master the Yongshi should consider:
- Learning maps to identify premium ridge-line positions where 8 degrees depression creates advantages
- Practicing side-scraping angles to maximize the 120mm side armor effectiveness
- Developing target prioritization focused on wounded opponents within one-shot elimination range
- Mastering the balance between long-range sniping and close-quarters angle fighting
- Using the decent mobility to secure early positions and relocate based on developments
- Reserving premium ammunition for heavily-armored targets rather than routine use
- Understanding turret weak points and positioning to minimize vulnerability
- Avoiding extended DPM trades in favor of alpha-advantaged engagements
Community Reception
Initial community reactions to the Yongshi reveal diverse perspectives:
“Finally, a Versatile Chinese Heavy”: Many players expressed enthusiasm about a Chinese Tier X heavy that doesn’t rely on rocket boosters or force specific playstyles, viewing the Yongshi as a refreshing addition to the nation’s lineup.
DPM Concerns Immediately Surfaced: Community discussion quickly focused on the explicitly mentioned lower DPM, with players questioning whether 650 HP alpha and excellent accuracy adequately compensate for reduced sustained damage output.
114 SP2 Turret Interest: The mention of turret design similarities to the 114 SP2 generated significant attention, with commanders recognizing this could mean exceptional hull-down capability or inherited weak points requiring careful management.
“Another Sniper Heavy?”: Some community members expressed fatigue with sniper-heavy designs, questioning whether Tier X needs another precision-focused heavy tank when aggressive brawlers and breakthrough vehicles create more dynamic gameplay.
Side-Scraping Enthusiasm: The 120mm side armor specification generated positive reactions from players who enjoy angle-fighting and side-scraping tactics, viewing this as enabling more aggressive positioning than pure hull-down vehicles permit.
What Sets the Yongshi Apart
The Yongshi occupies a unique position in the Tier X heavy tank landscape:
True Versatile Heavy Design: Unlike tanks that claim versatility but excel in only one area, the Yongshi genuinely adapts across multiple roles—sniping with excellent gun handling, hull-down fighting with strong turret armor and 8-degree depression, and angle-fighting with 120mm side armor.
Sniper-Heavy Philosophy: The combination of 650 HP alpha, excellent penetration, good aim time, and stability creates a heavy tank that functions effectively as a precision damage dealer rather than a brawling HP-trading platform.
Chinese Heavy with Depression: The 8 degrees of gun depression is exceptional for Chinese heavy tanks and opens tactical possibilities historically unavailable to the nation, particularly effective ridge-line fighting.
114 SP2 Turret Heritage: The turret design inspired by the formidable 114 SP2 suggests the Yongshi inherits both the exceptional protection and specific vulnerabilities, creating a vehicle that rewards positional mastery.
Alpha-Accuracy Balance: The sweet spot of 650 HP alpha (more than most heavies, less than super-heavies) combined with excellent gun handling creates a vehicle that punishes without the extreme limitations of derp guns or the underwhelming impact of rapid-fire weapons.
What’s Next?
As a Supertest vehicle, the Yongshi’s characteristics remain subject to adjustment. Key questions for testing include:
- What is the exact DPM value, and does it create unacceptable disadvantages in certain matchups?
- How closely does the turret armor actually mirror the 114 SP2, and are the weak points similarly pronounced?
- What are the specific penetration values for standard and premium ammunition?
- Does the decent mobility translate to competitive speed and agility, or is it merely adequate?
- Can the 120mm side armor effectively enable side-scraping, or do other armor characteristics limit this capability?
- Will this be a tech tree vehicle, premium, or reward tank?
- How will the Yongshi fit into the existing Chinese heavy tank lineup alongside the WZ-111 5A and BZ-75?
Final Thoughts
The Yongshi represents an ambitious attempt to create a genuinely versatile Tier X heavy tank that performs across multiple roles without forcing commanders into rigid playstyles. By combining sniper-heavy gun characteristics with meaningful armor protection and tactical flexibility, Wargaming has produced a vehicle that rewards adaptive gameplay and intelligent positioning.
For commanders who appreciate precision firepower, enjoy reading battlefield conditions and adapting tactics accordingly, and value flexibility over extreme specialization, the Yongshi offers compelling potential. The 650 HP alpha damage with excellent gun handling creates consistent, impactful damage delivery, while the 8-degree depression and strong turret enable effective hull-down fighting previously unavailable to Chinese heavy tanks.
However, the Yongshi demands significant compromises. The lower DPM creates vulnerabilities in sustained engagements where rapid-fire opponents can win through sheer volume of fire. The reliance on positioning and tactical adaptation means the Yongshi punishes passive or one-dimensional play more harshly than specialized tanks that excel in their narrow domains. If the turret truly inherits 114 SP2 weak points, commanders must master turret positioning to avoid frustrating penetrations.
The versatile heavy classification is both the Yongshi’s greatest strength and potential weakness. Vehicles that do everything reasonably well sometimes excel at nothing specifically, creating frustration when specialized opponents dominate in their preferred engagement types. Whether the Yongshi successfully balances its multiple capabilities into a cohesive, effective package will determine if it becomes a favorite or a forgettable addition.
Whether you’re excited about China receiving a flexible, sniper-capable Tier X heavy or skeptical about whether “versatile” translates to “mediocre across the board,” the Yongshi undeniably offers something different. If Wargaming successfully balances the DPM, armor profile, and gun handling, the Yongshi could become a favorite for players who enjoy thinking tactically and adapting to battlefield developments rather than forcing a single rigid approach.
For those who have wanted a Chinese heavy tank with meaningful gun depression, excellent accuracy, and tactical flexibility beyond rocket-boosted gimmicks, the Yongshi might be exactly what you’ve been waiting for.
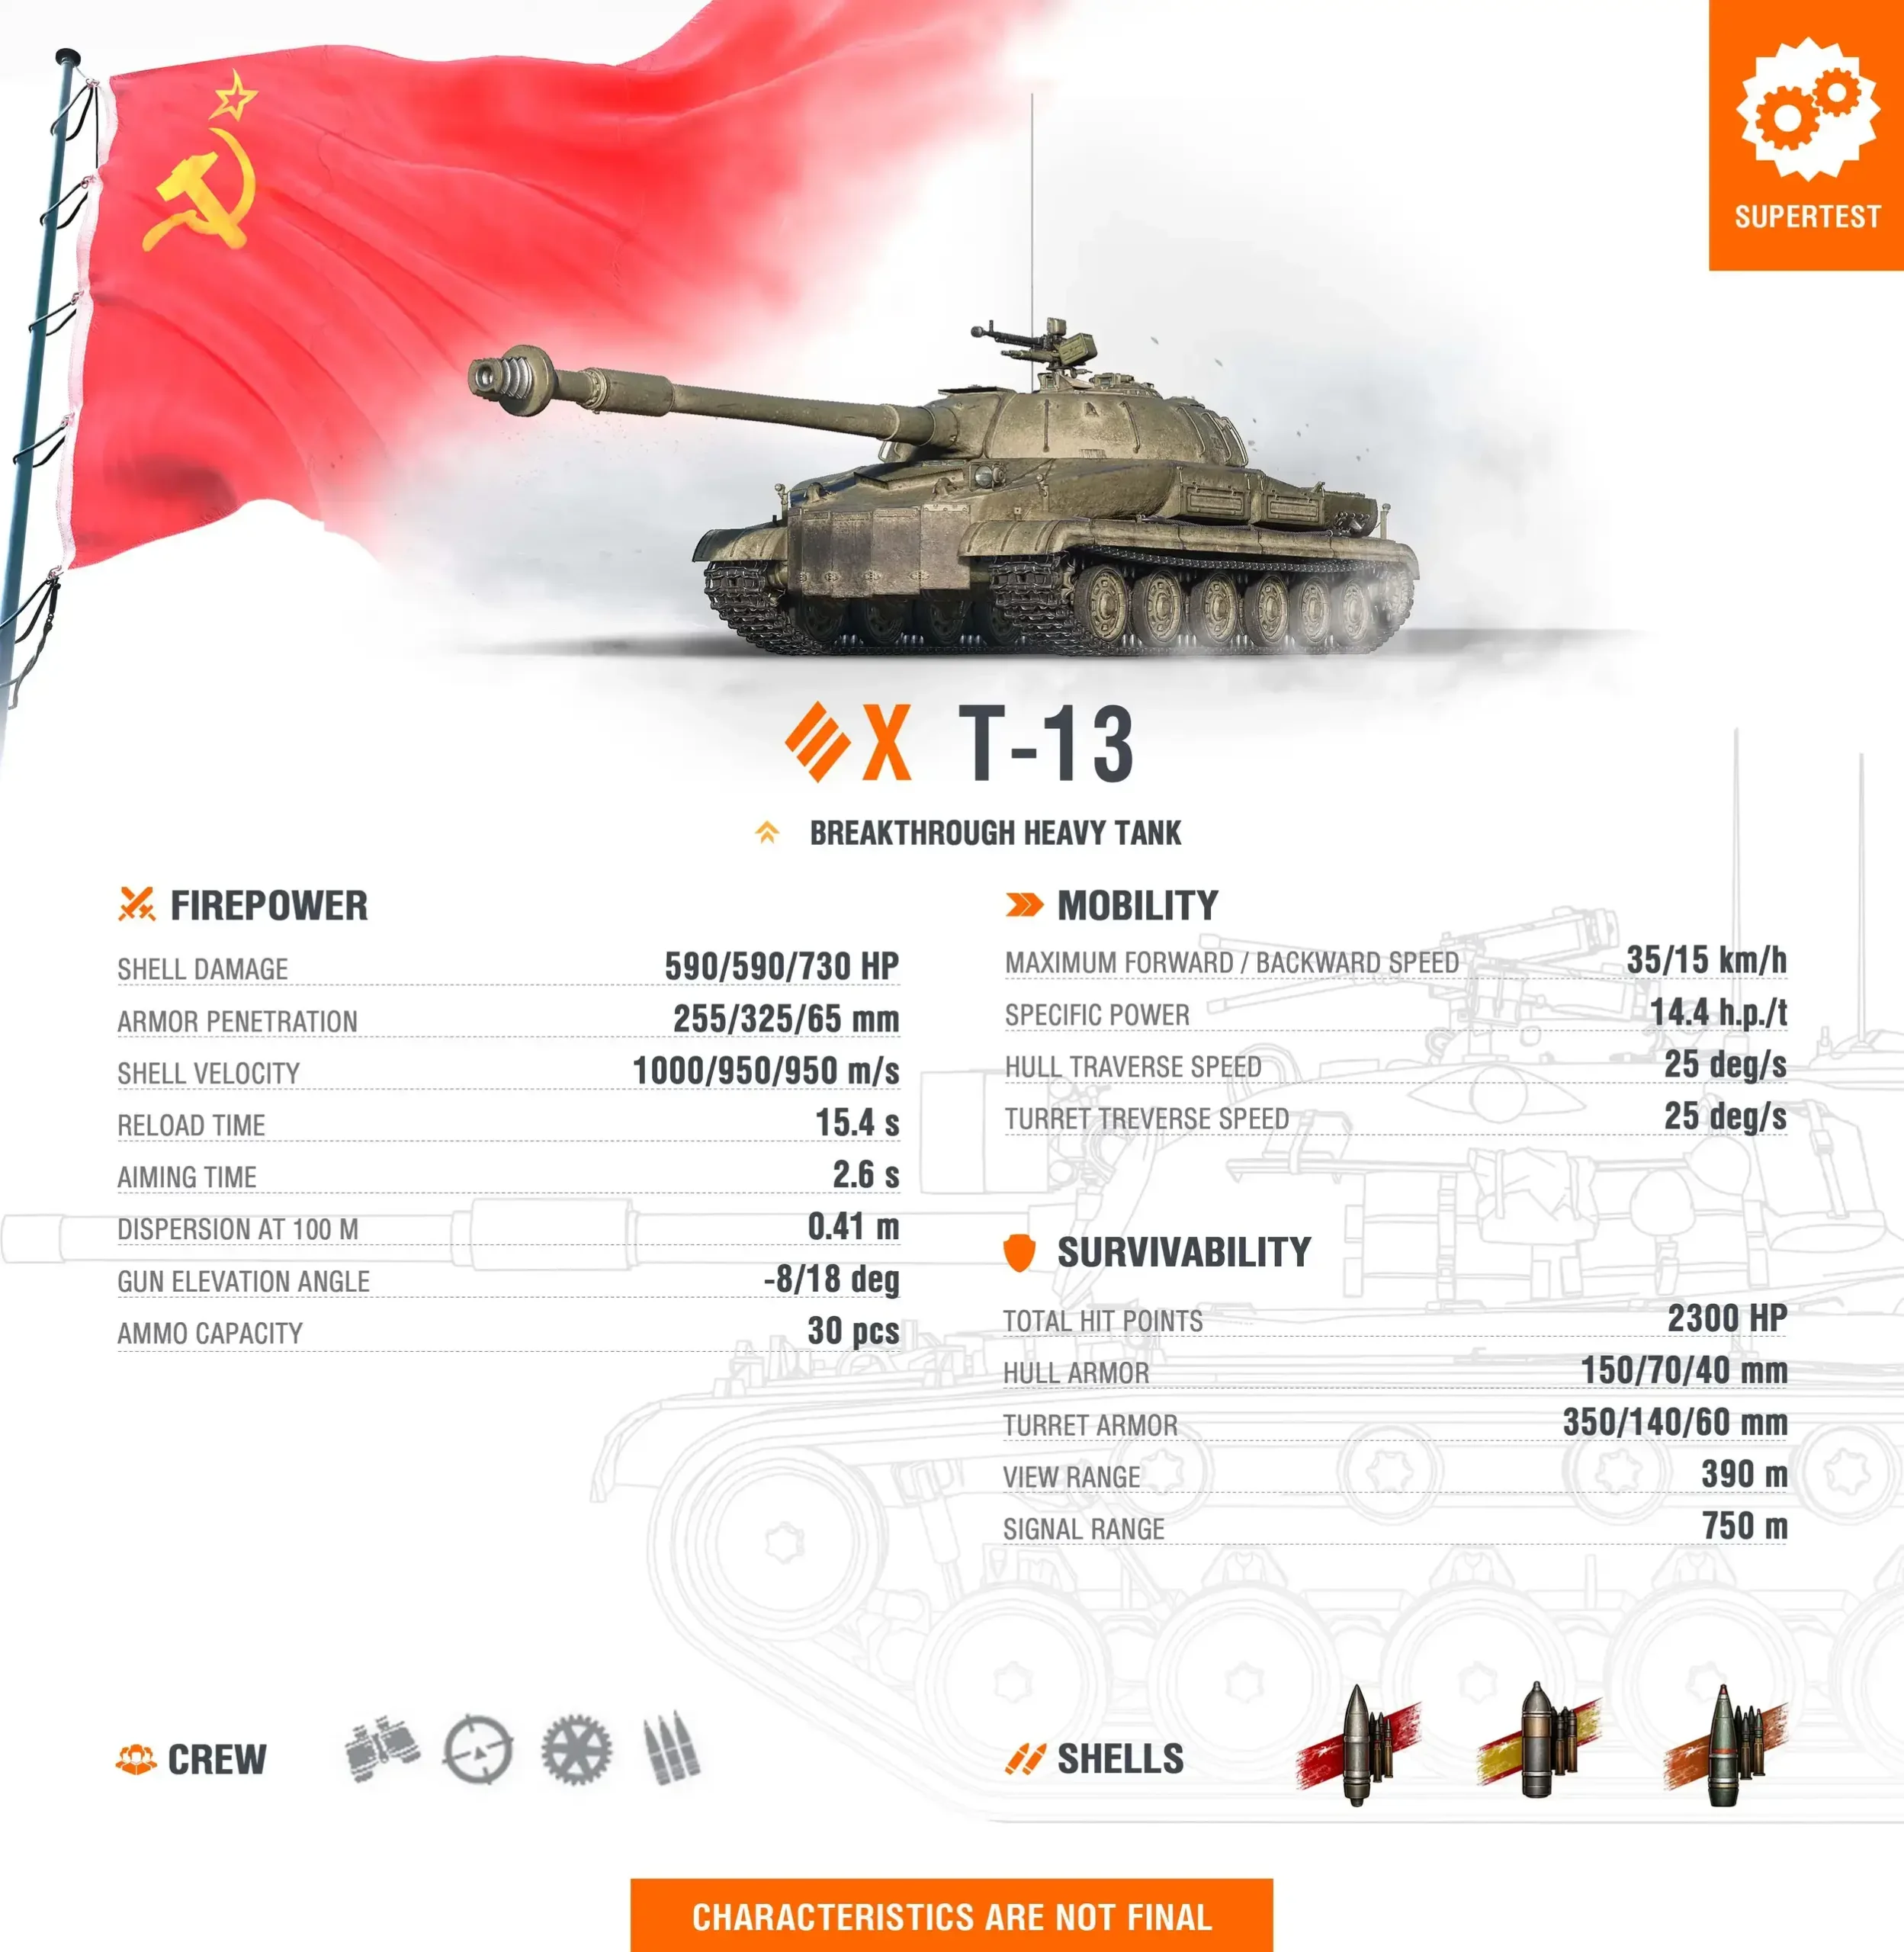
Characteristics Are Not Final — all information sourced from World of Tanks Supertest announcements.