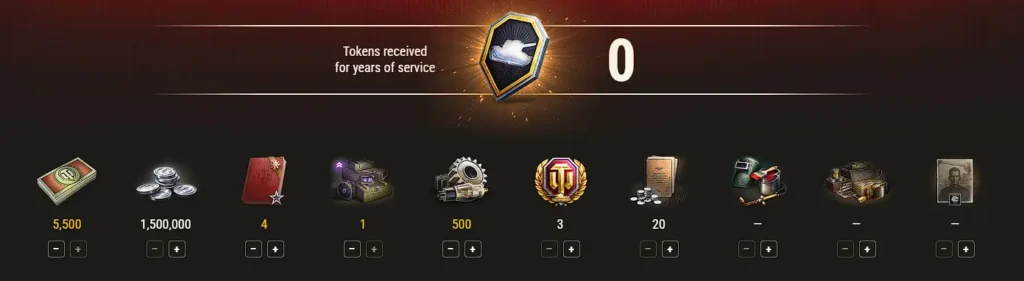
Last year, the Black Market was quite underwhelming for the majority of the playerbase. It was dominated by the gold offer,s and there was only 1 credits offer for a trash tank K-91-2.
Pretty much, there wasn’t any new content that was offered to the players apart from that K-91-2. Last offer featured just a mystery box with premium tanks with fancy 3D styles that many players already had. Let’s try to guess which tanks could be featured in this event. We guessed 2 tanks for the Christmas lootboxes, let’s see if we can do it better this time.
Heavy Tanks
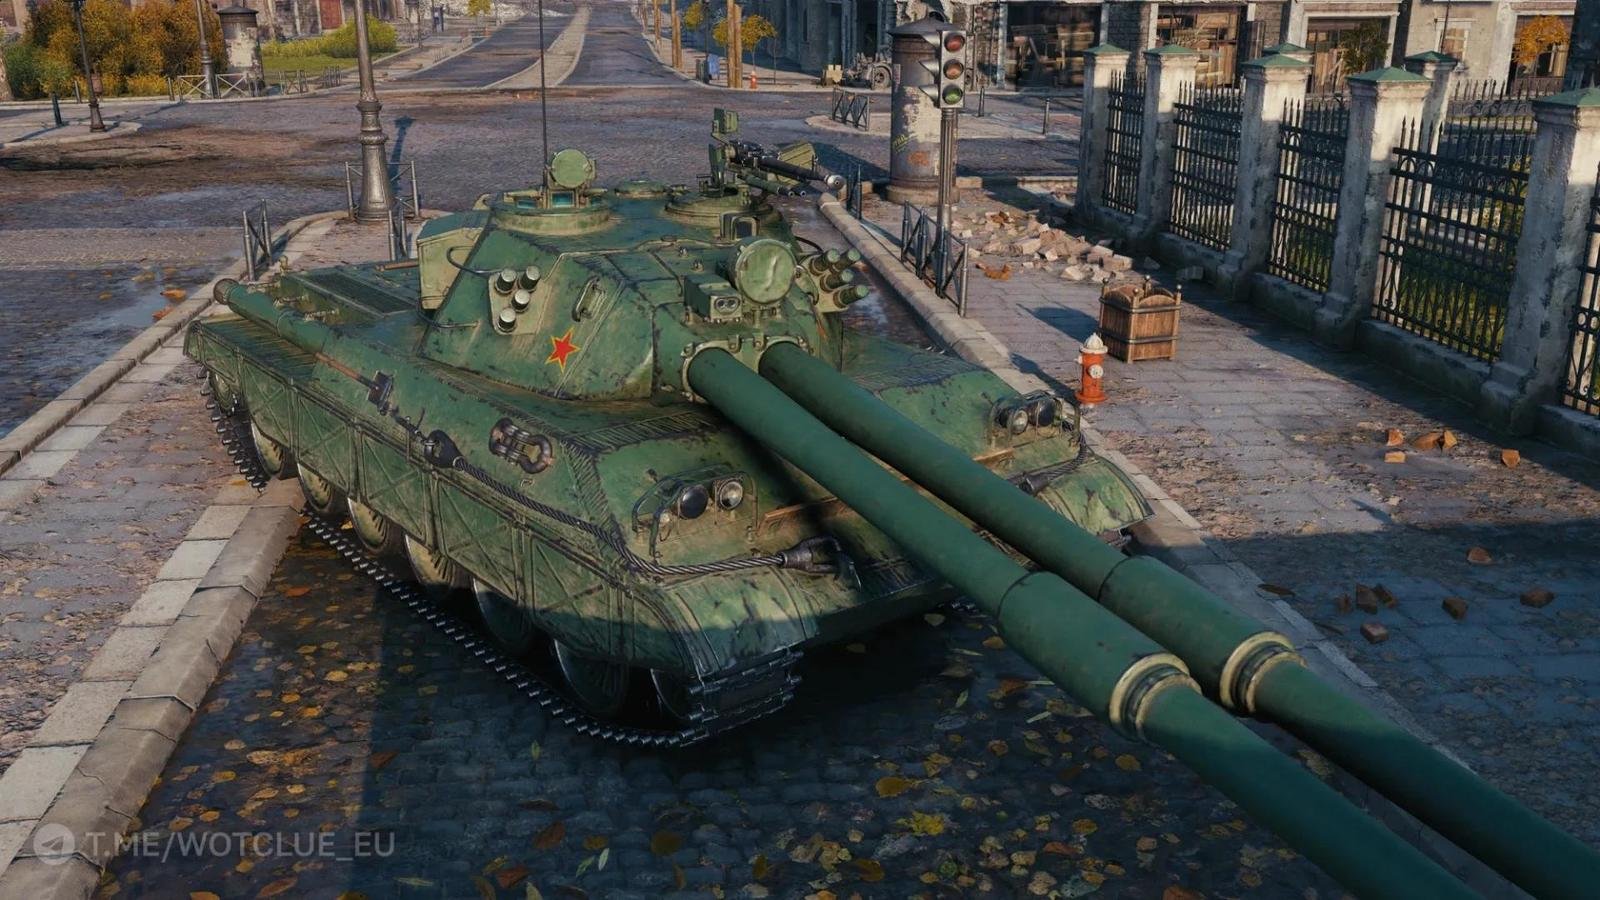
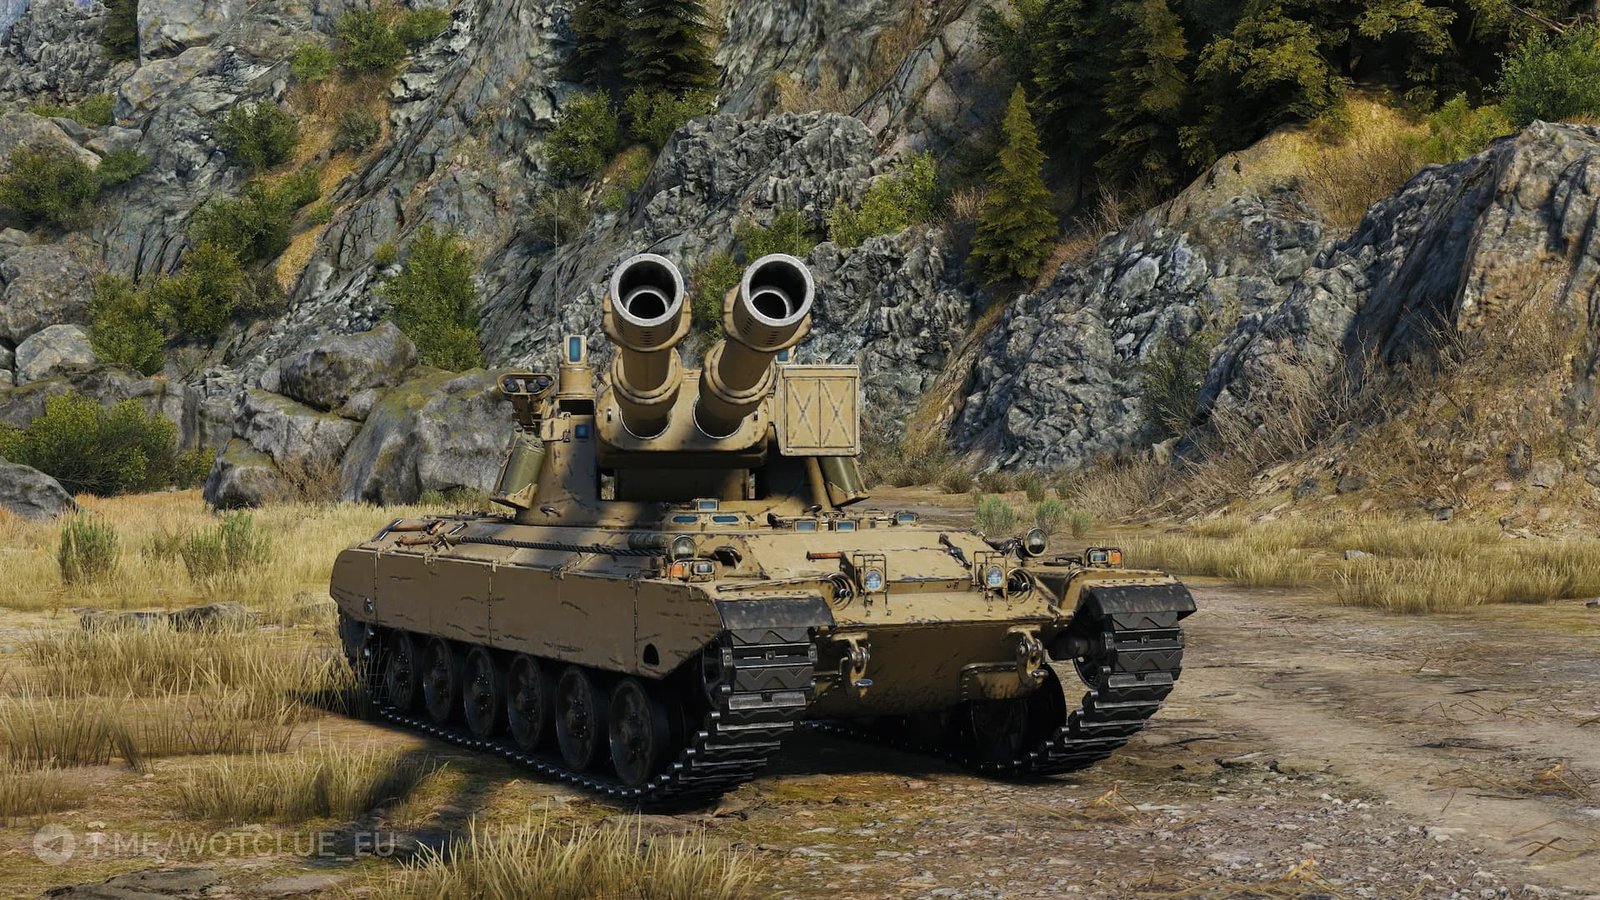
Yong Bing
Yong Bing is a tier 9 Chinese heavy tank with rocket boosters and a double-barreled gun capable of devastating double shots. I was already very surprised this tank wasn’t in 2026 lootboxes, but it is a perfect candidate for the black market since a lot of people are ready to bid big in order to get their hands on this beast. Based on the statistics alone, this seems like the best tier 9 premium at the moment.
Probably the most fun unreleased tier 9 premium heavy would give up to 25 million credits for it.
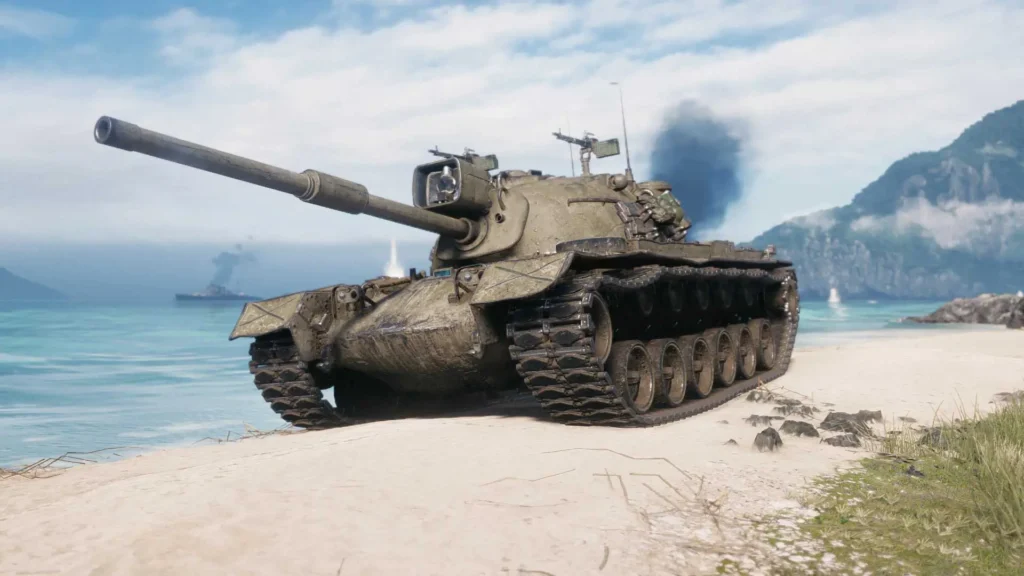
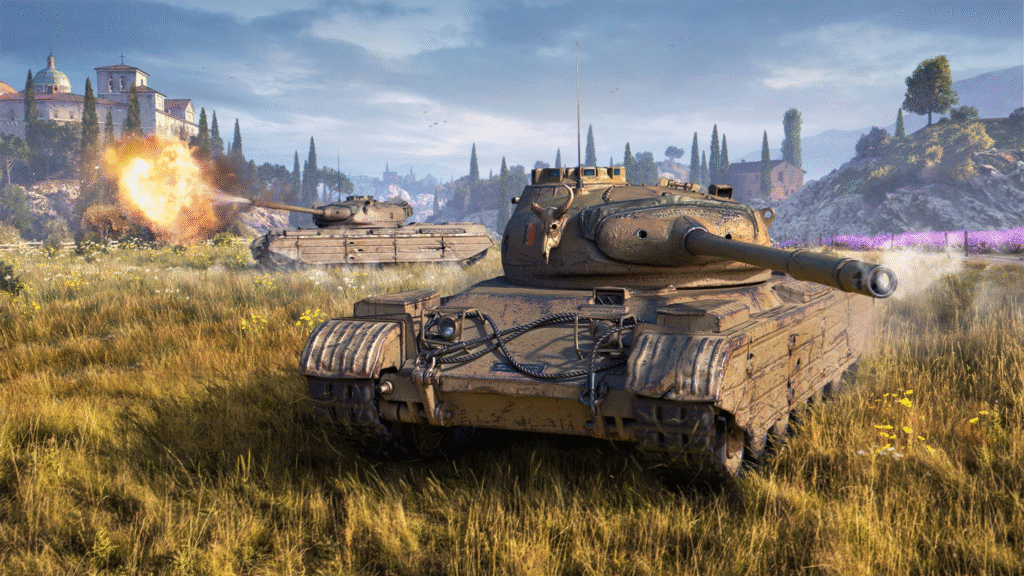
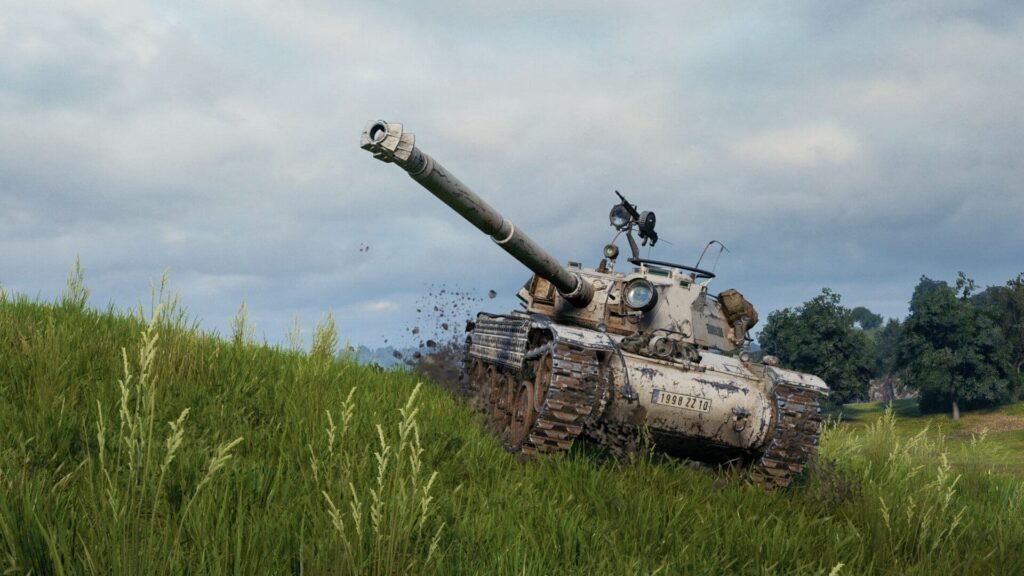
SPHT
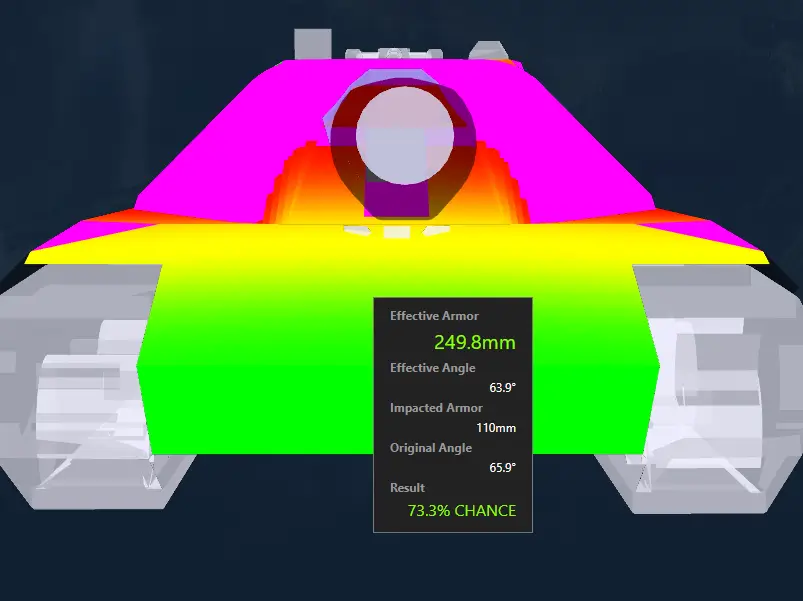
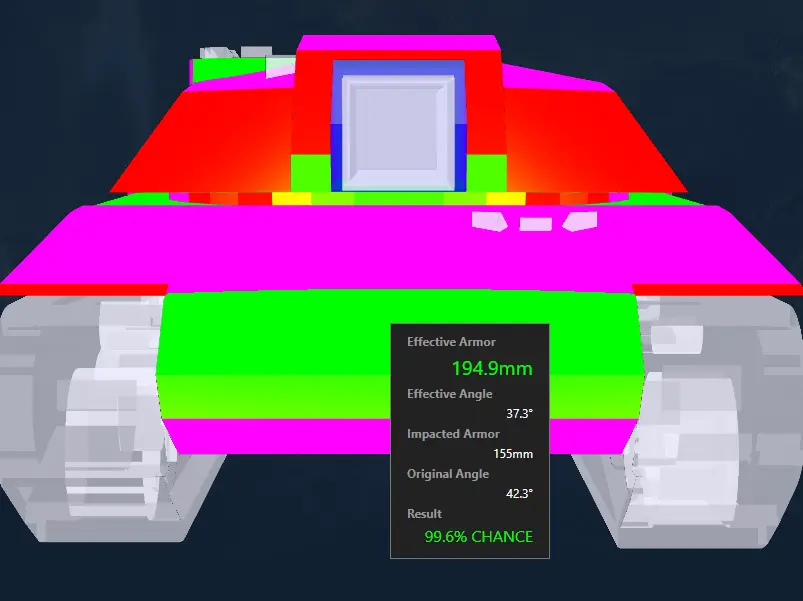
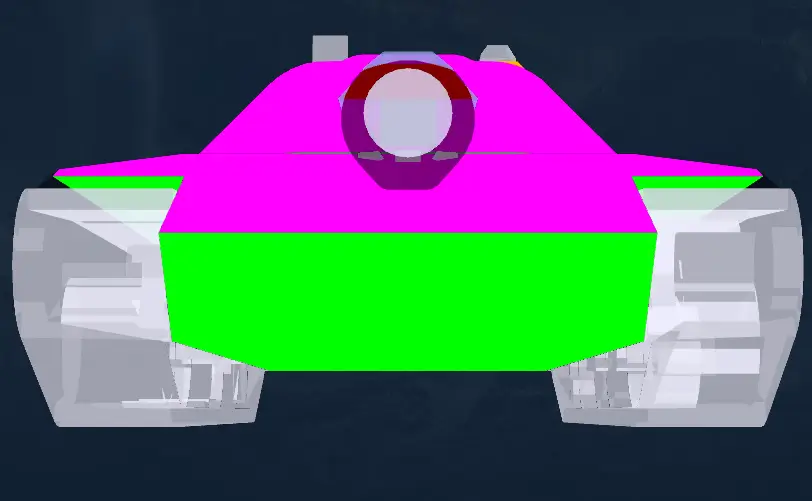
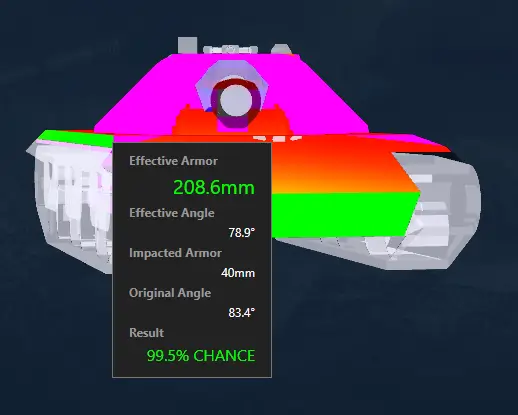
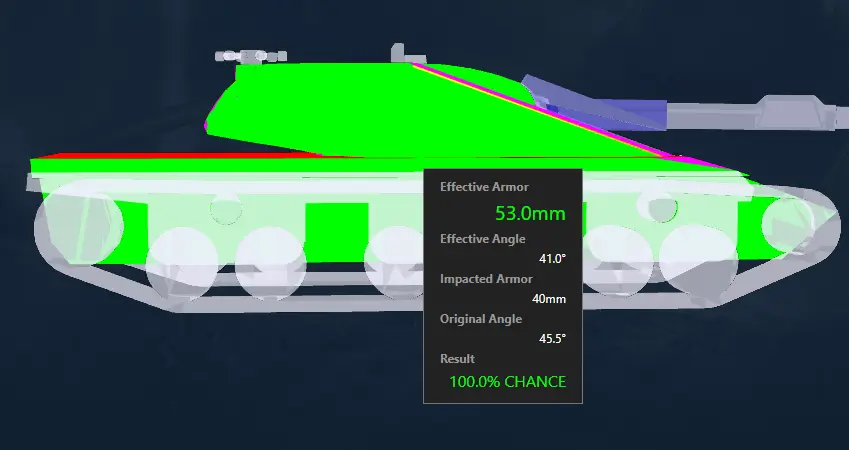
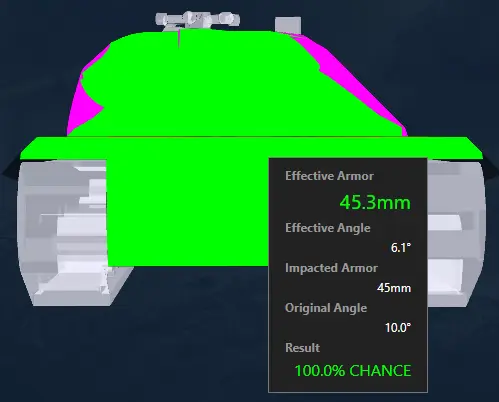
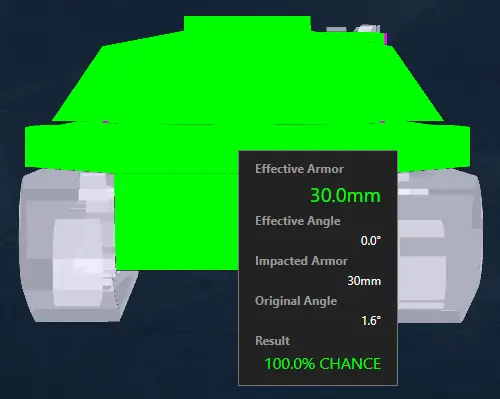
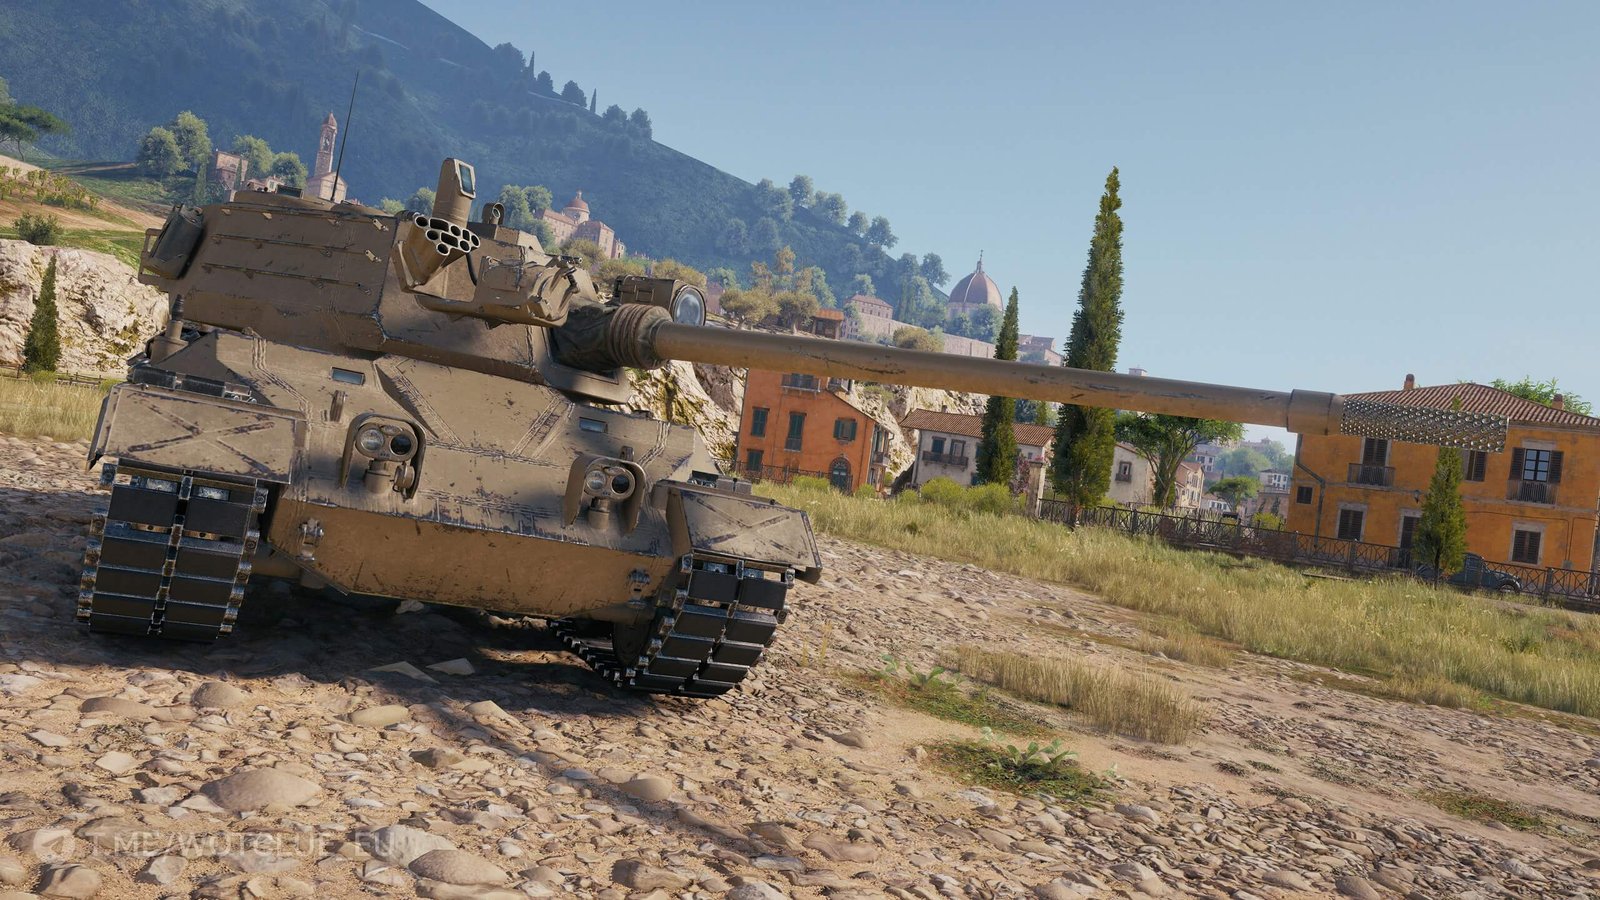
SPHT is an American premium tier 9 heavy tank. It has very weak frontal armor with around 200 mm of effective armor thickness. Apart from the armor, it actually seems like a decent support heavy, with great gun and decent enough mobility to relocate on the battlefield if necessary. It seems on point with other tier 9 premiums in terms of power and balance.
This tank is pretty decent, would give up to 18 million credits for it.
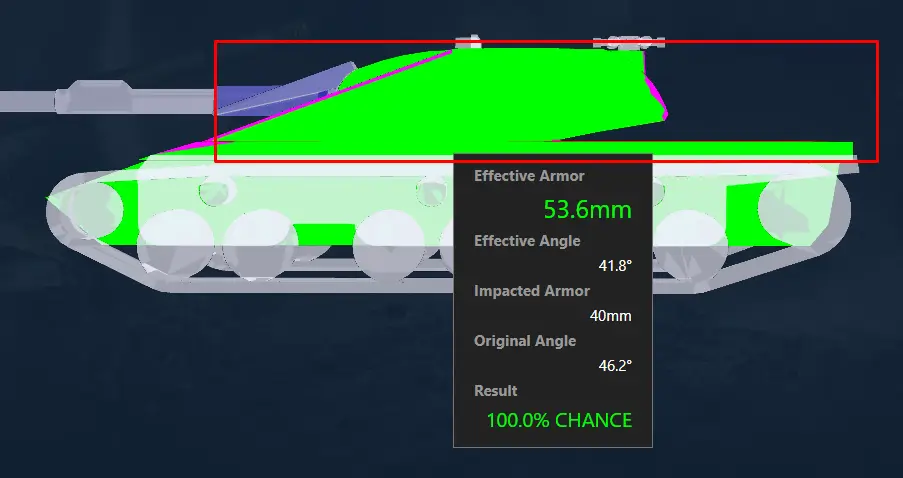
Schwertwal
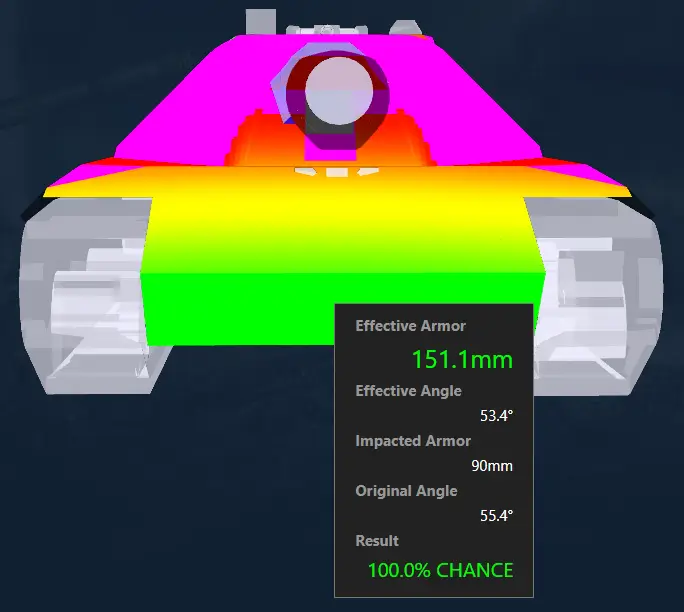
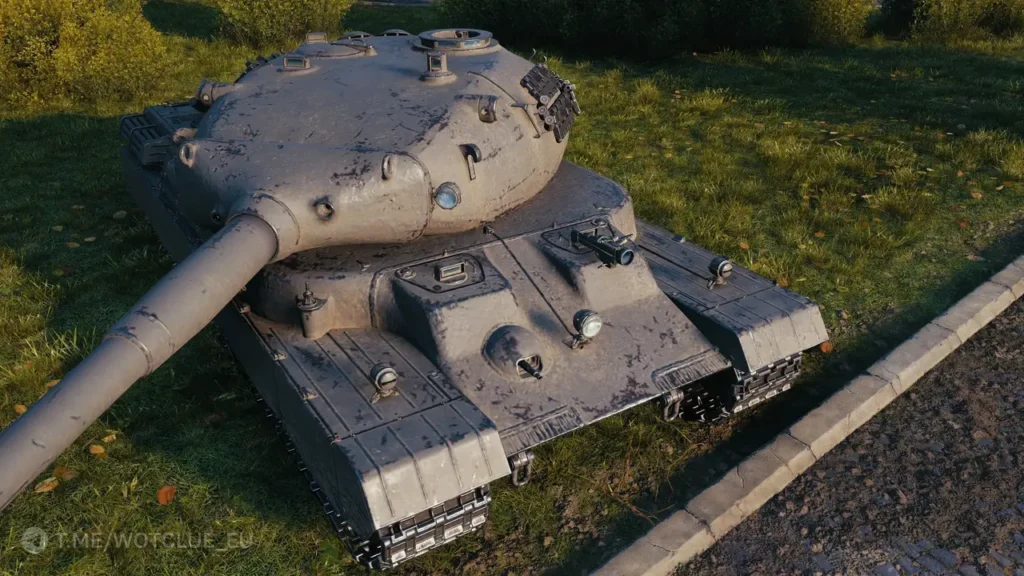
This is a pretty interesting German heavy at tier 10. Main characteristics of this vehicle are a high alpha damage gun at 700 damage per shot and a low top speed at only 30 km/h. In terms of armor, it’s nothing special; it has 2 big weakspots on the upper front plate, the upper deck can be overmatched by 121 mm guns and higher, while the lower plate is very big and tragically weak at only 200 mm of effective armor. The turret is tho very solid, around 400 mm on the front without any weak spots. While the gun is hard-hitting, it has horrible dispersion values.
I wouldn’t give more than 10 million credits; it doesn’t bring anything new to the game, and it doesn’t have a characteristic that would make it great at one thing.
Medium tanks
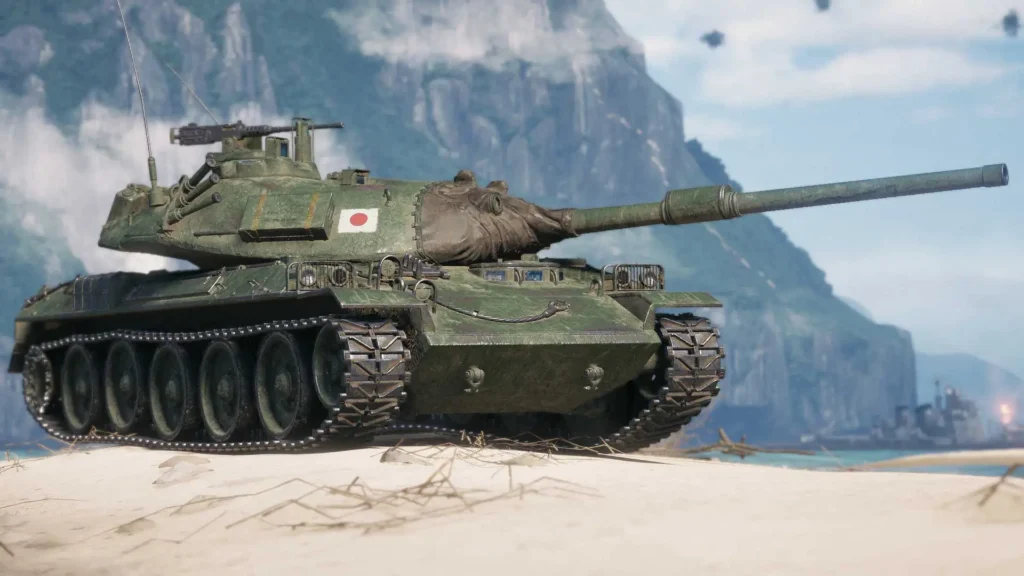
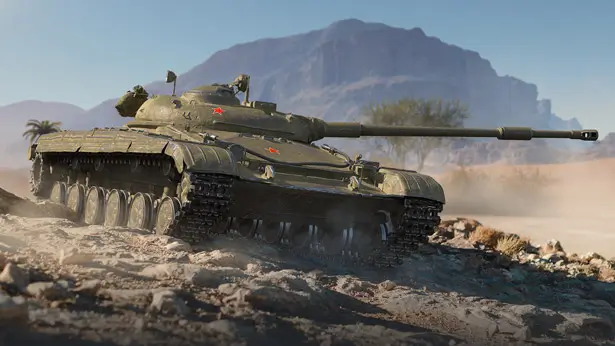
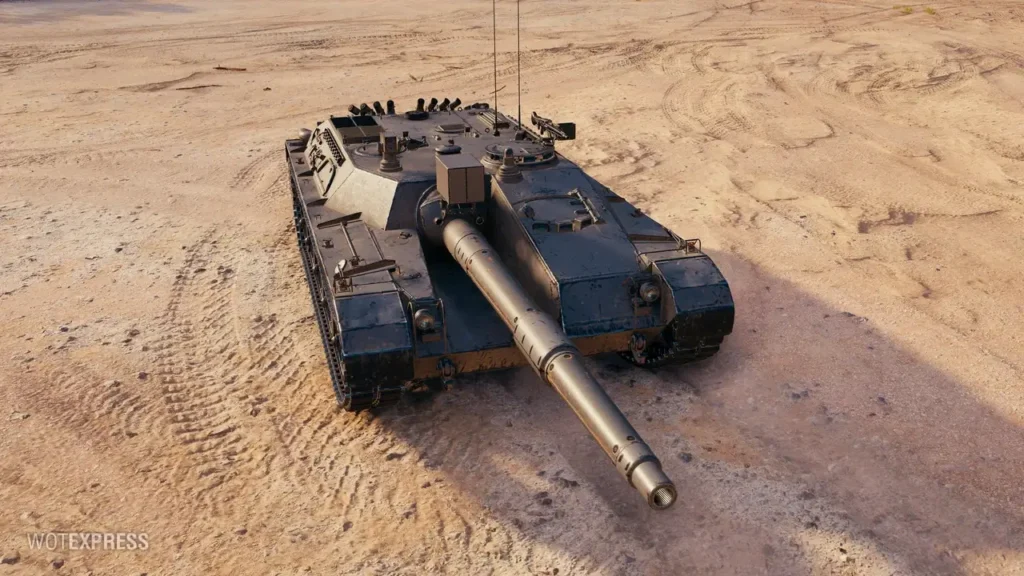
Leox
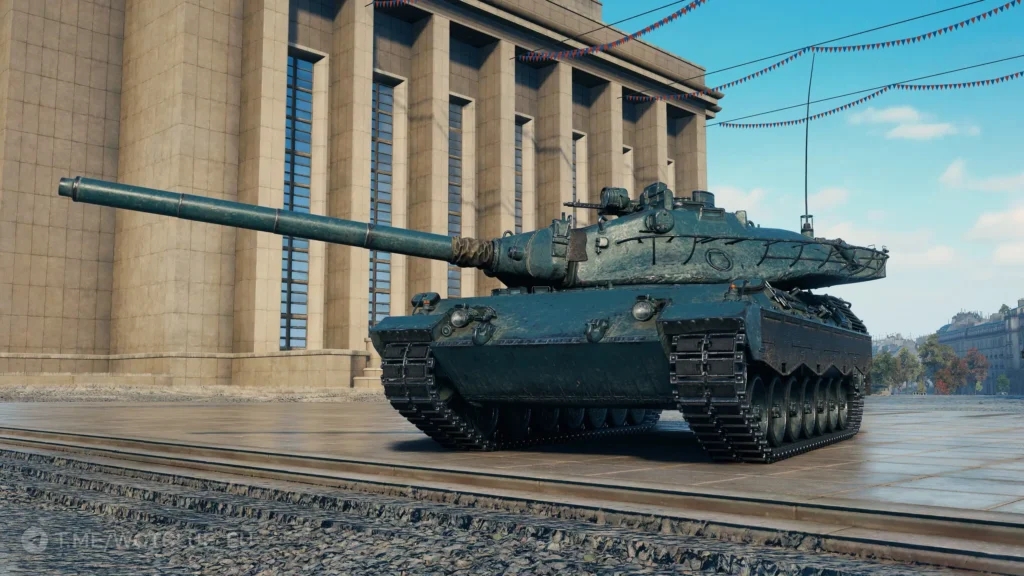
A very recent addition to the Supertest is a tier 9 premium French medium tank, the Leox. Playstyle-wise, it reminds me a lot of the AMX 30 and 30B. It features great penetration, decent alpha damage, good gun handling, bad hull armor, and a somewhat reliable turret. But the main interesting feature is the top speed of 70 km/h, which is really fast for a medium without any special modes. It could be a pretty fun tank, would give up to 20 million for it.
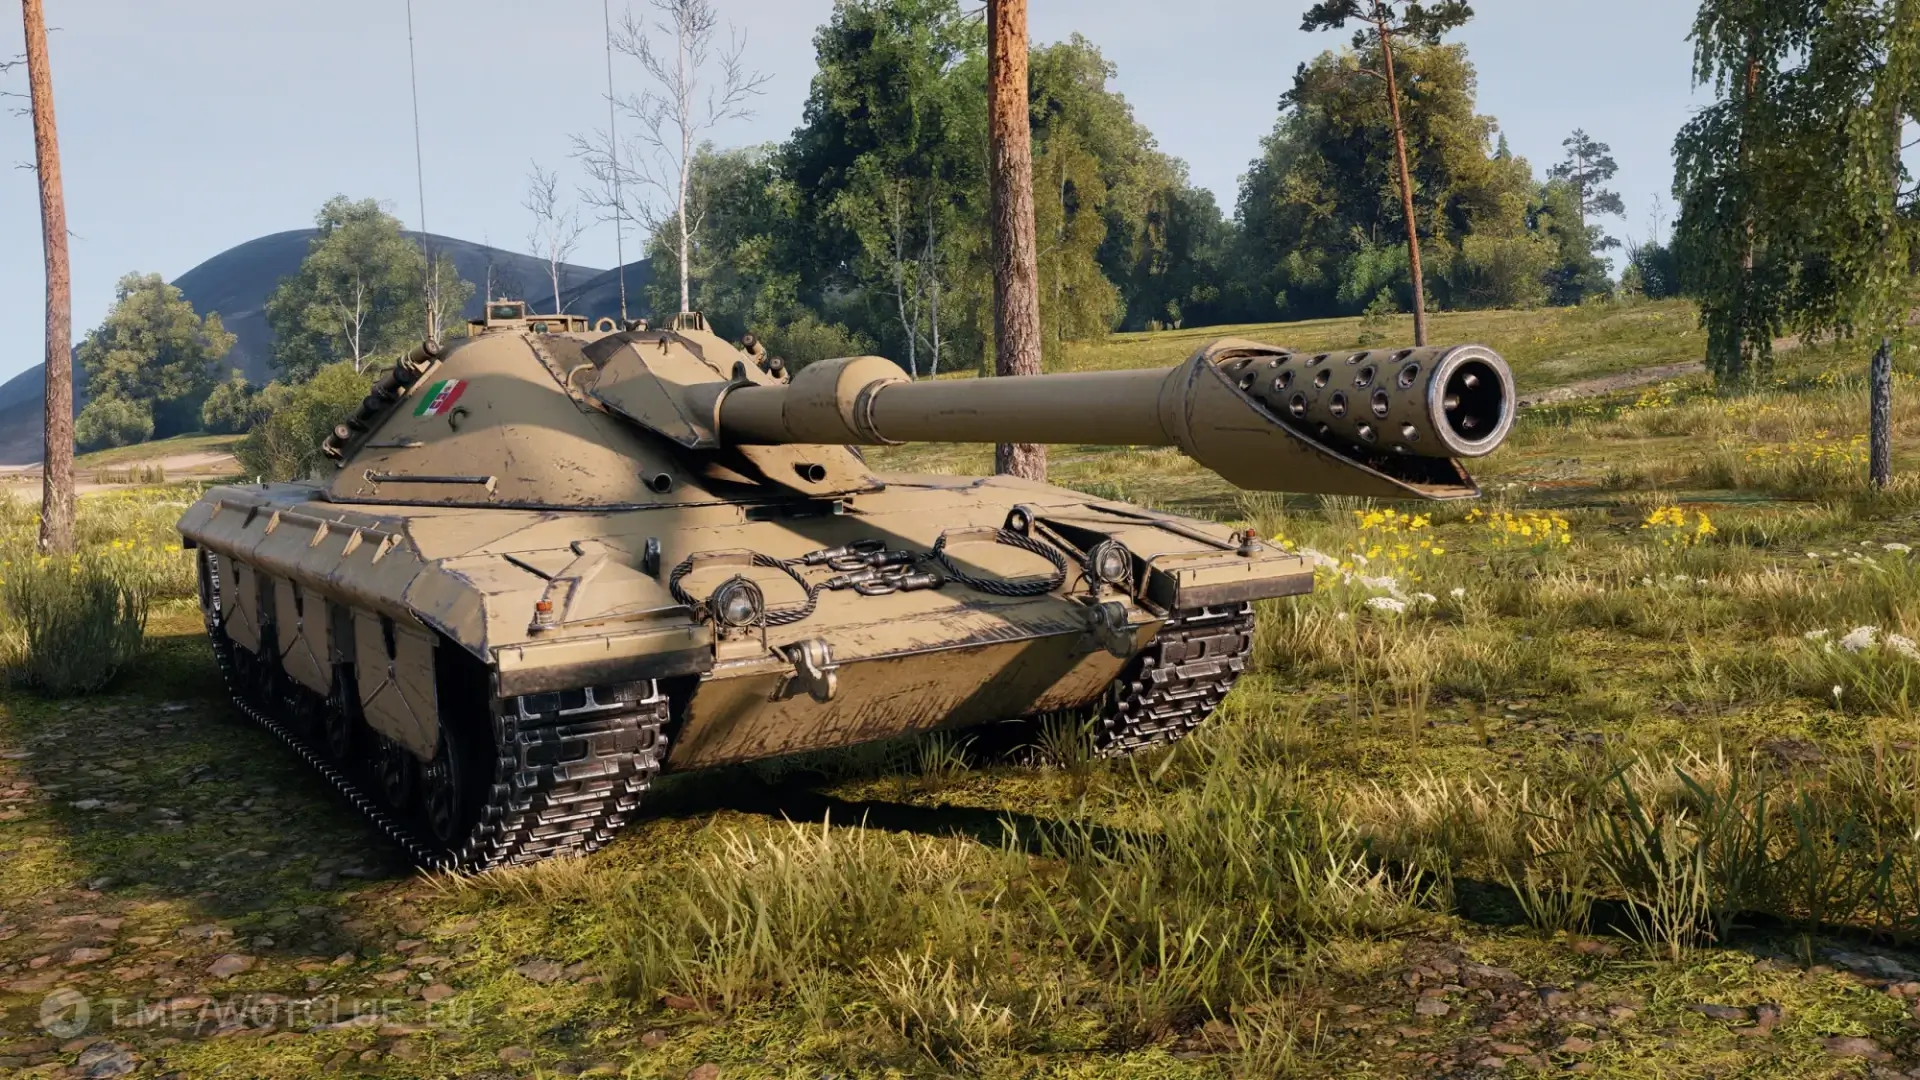
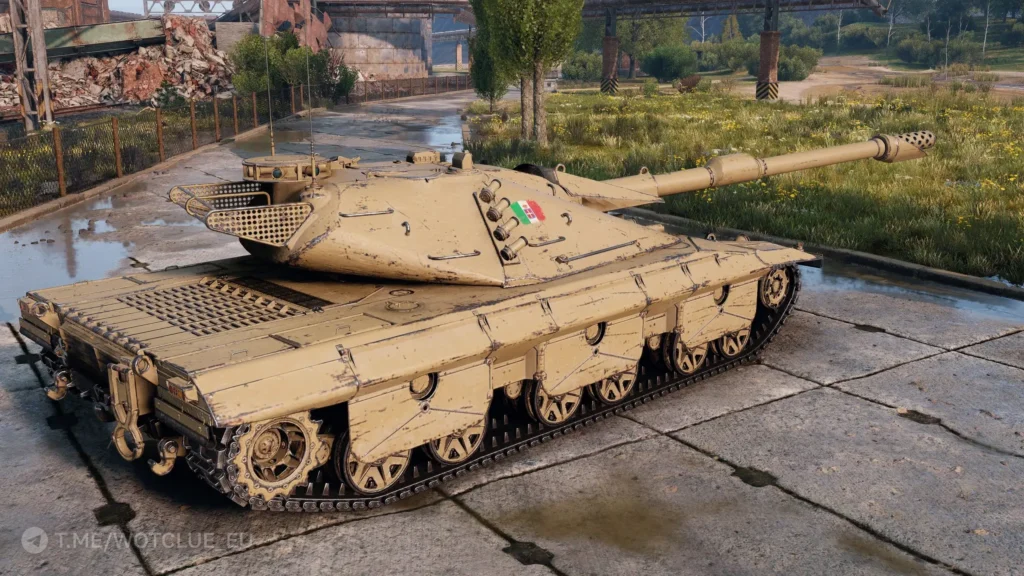
Serpente
A lot of people expected it in 2026 lootboxes, but it hasn’t appeared. There is a lot of hype surrounding it, so if it will be for bids, you can expect bids to be really high, around 30-40 million. The reason for the hype is the fact that this is the First Italian tank with a double-barreled gun. SFAC-105, which was in the last year, Black Market was also the first French TD with double barrels, so it does make sense if they put Serpente into the bids. Mechanics-wise, you also have insane dispersion values whenever you are charging the double shot, which proved very effective on the SFAC-105.
Light tanks
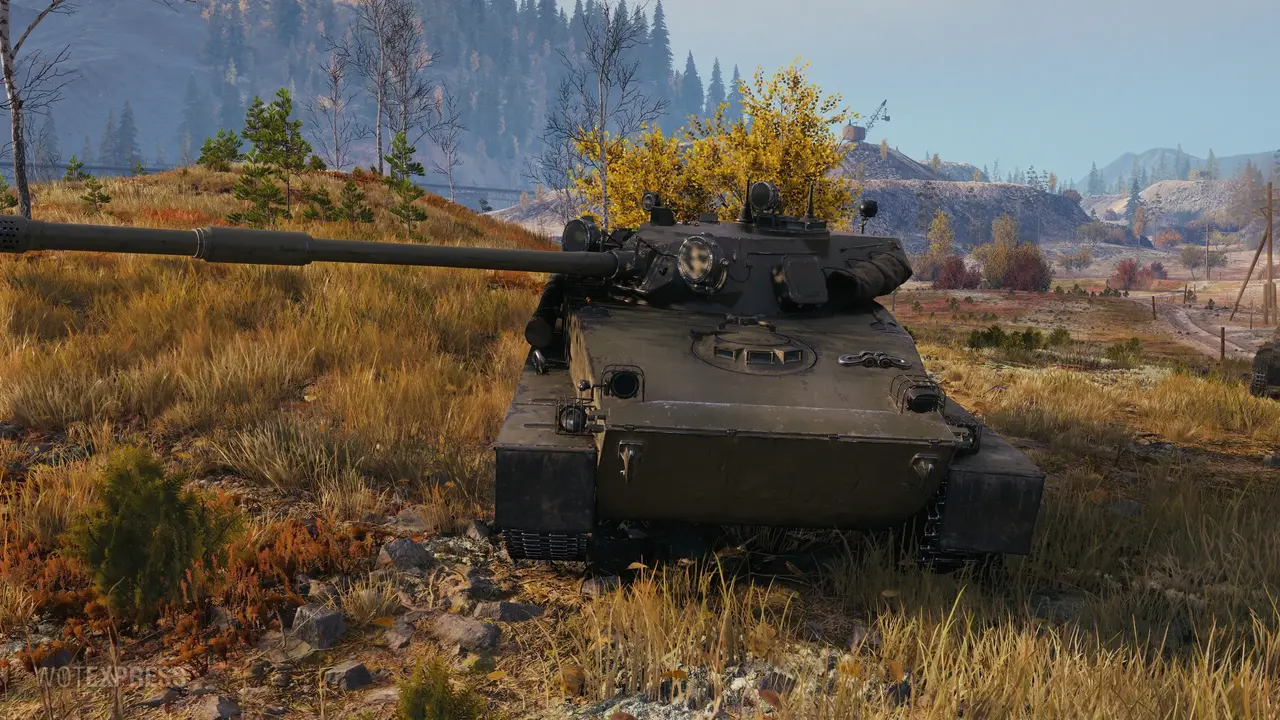
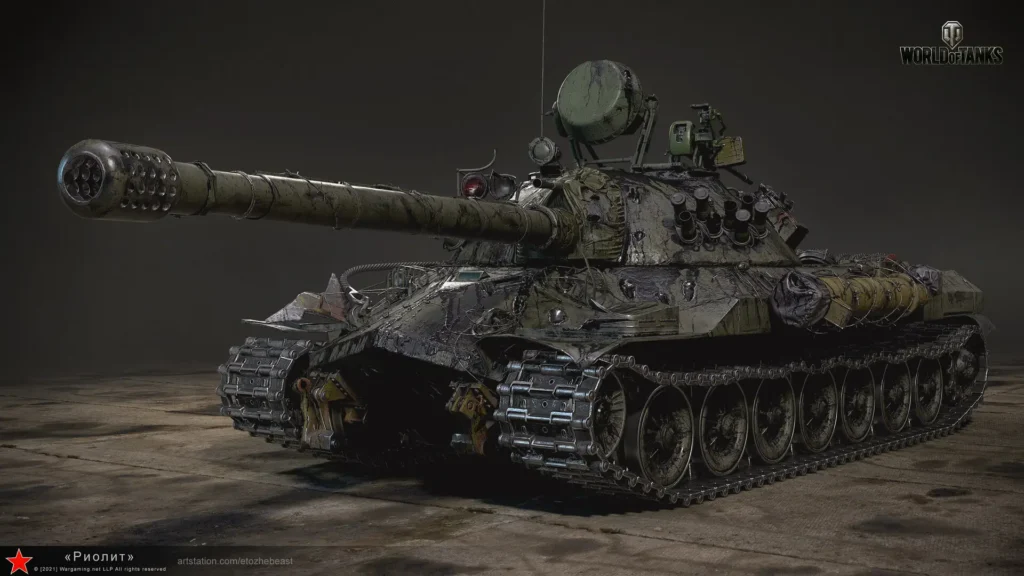
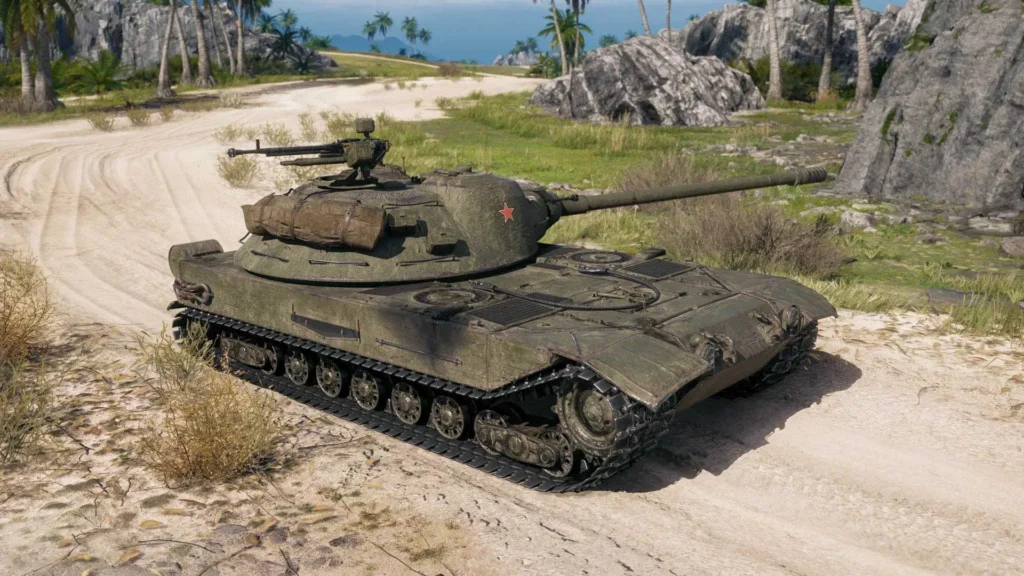
LTS-85
This is a tier 8 premium soviet light tank. It has been in a supertest phase for a couple of years now, while the chances are low for it appearing, this might be a stinker that WG can sell to you for credits or free XP. Stats-wise, it looks like a pretty bad tank, horrible dpm, bad penetration, bad camo rating, and no armor. The only decent things about this tank are the mobility and good alpha damage at 300.
Since I’m not such a fan of lights in the current meta, I wouldn’t give more than 5 million for it.
Tank Destroyers
Kanonenjagdpanzer 2
This is a Tier 8 premium German tank destroyer. A successor to the Kanonenjagdpanzer is equipped with a siege mechanic, which makes it one of the best snipers at tier 8 with only 0.29 dispersion in siege mode. DPM is solid at 2,7k and mobility is great. The ugly thing about the tank is the fact that it has absolutely no armor to the point where almost any HE rounds can penetrate it. Probably worth around 12 million.
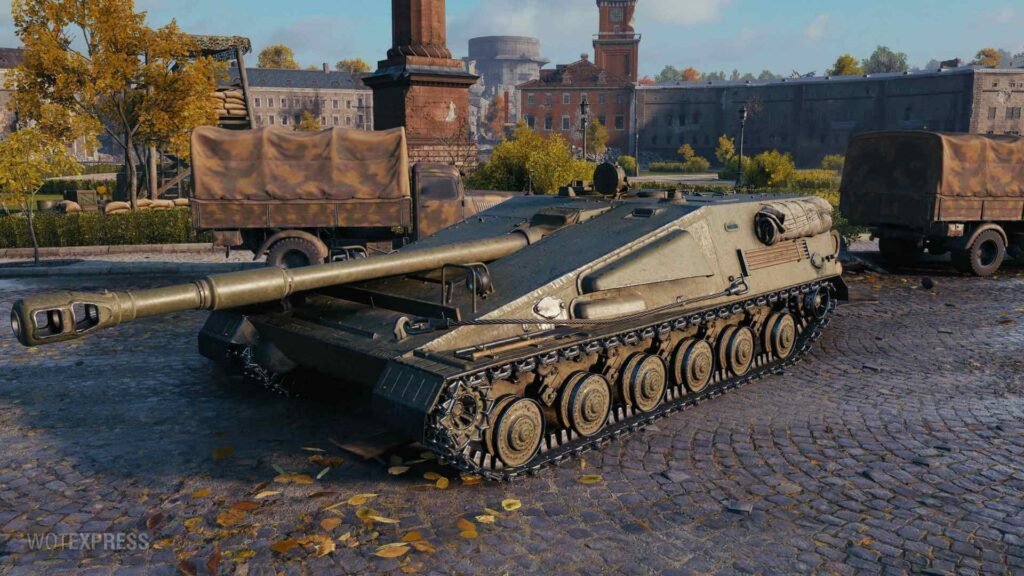
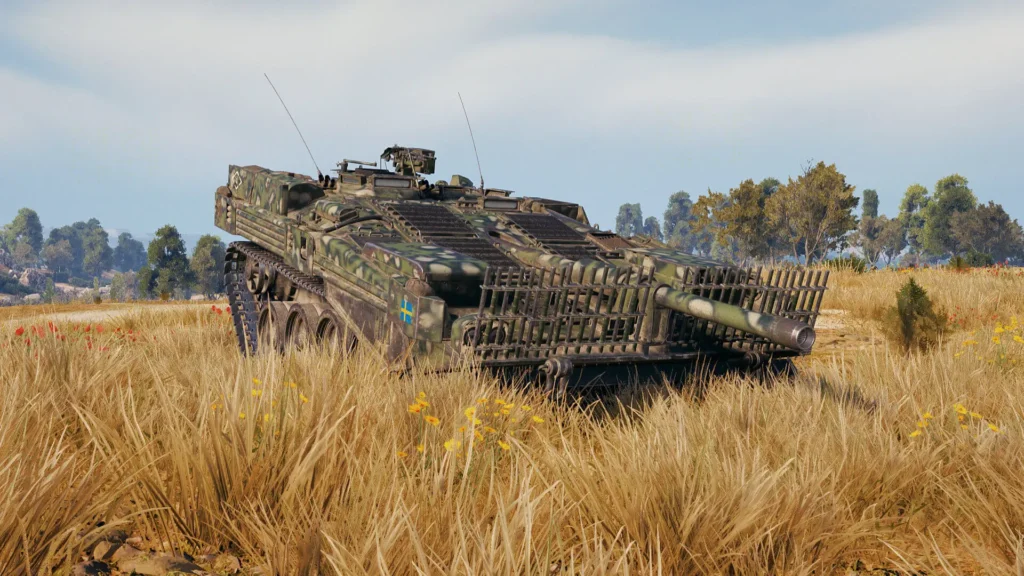
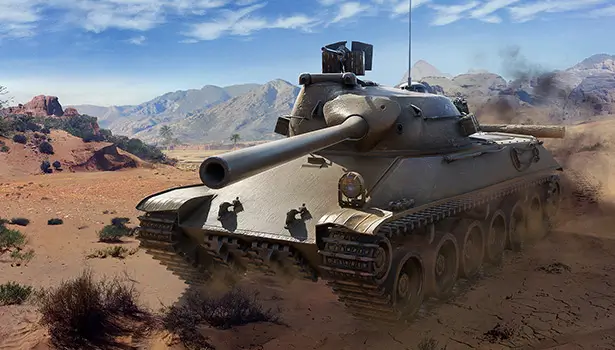
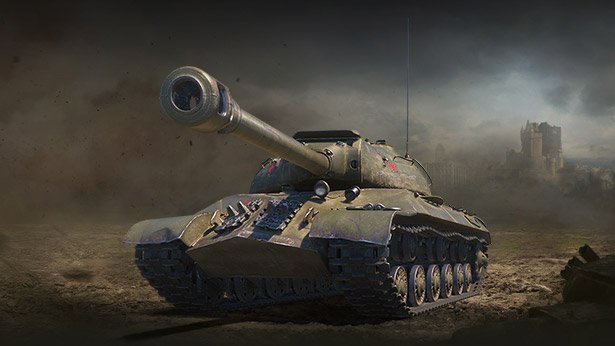
SU-122V
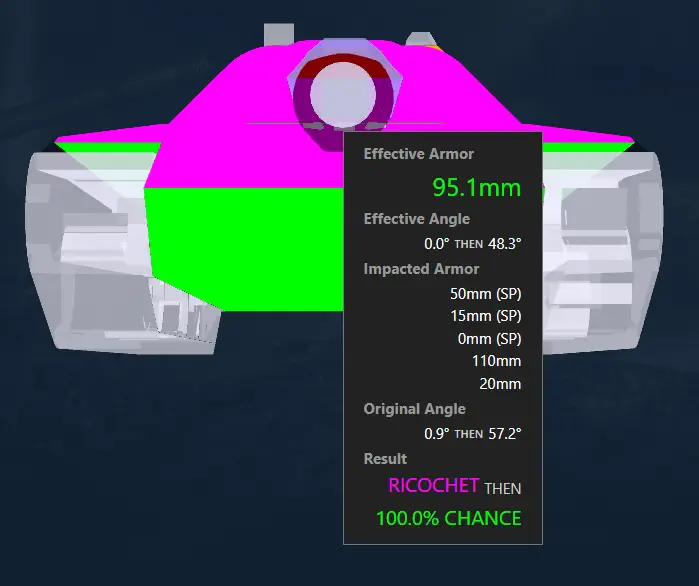
SU-122V is a tier 9 premium Russian tank destroyer with hydropneumatic suspension. It has been on the supertest since February of 2024, but the tank hasn’t been featured in any event yet. The first Russian tank with such suspension, it also has a really good upper hull, where the majority is an autorichochet very similar to the Swedish tier 10 STRV103B. Did I forget to add that it also has a great gun with over 3k DPM? Tank might also receive some additional changes to the usual procedure, which is for WG. Probably worth around 20 million.
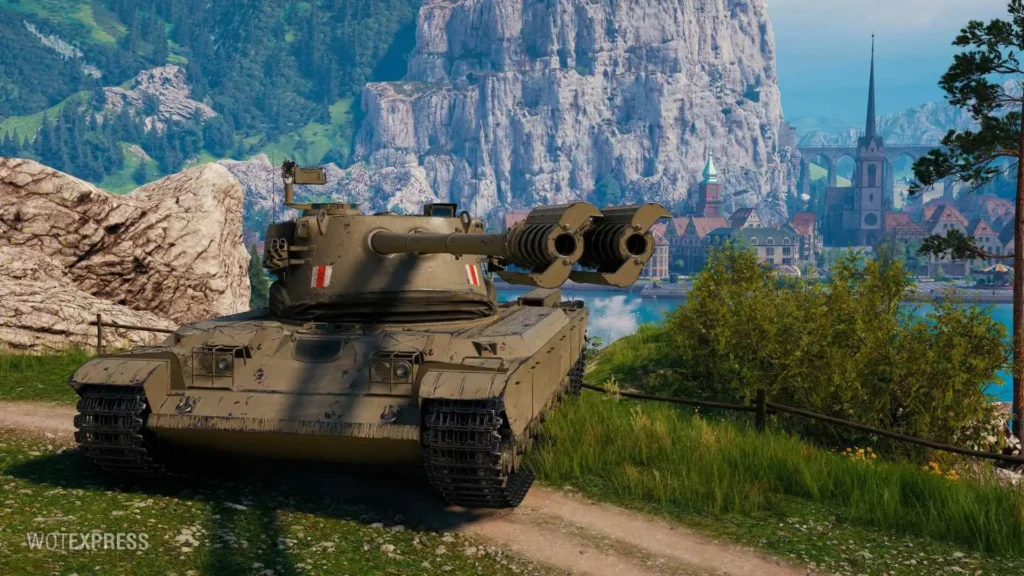
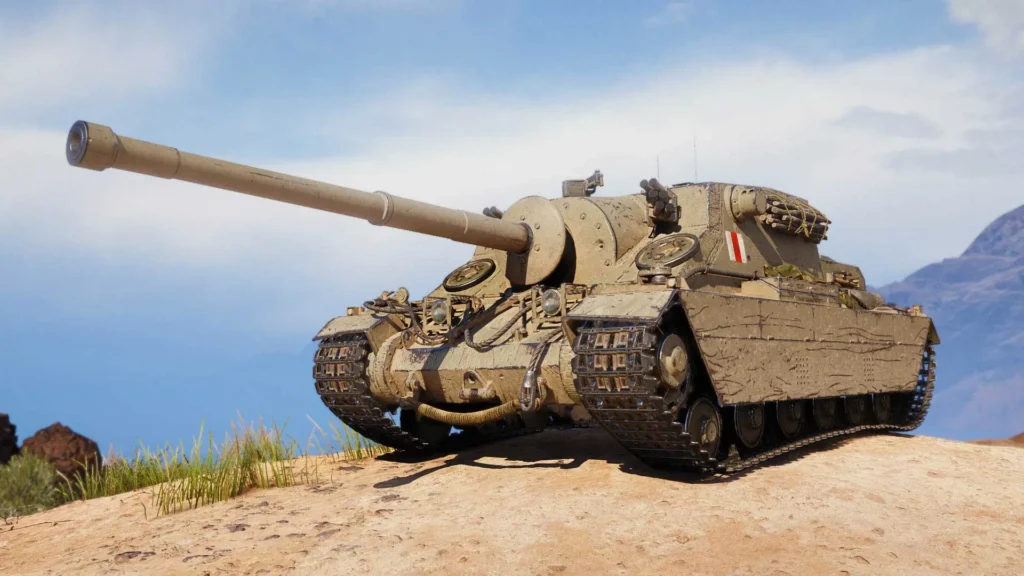
Lorraine 120 Alby
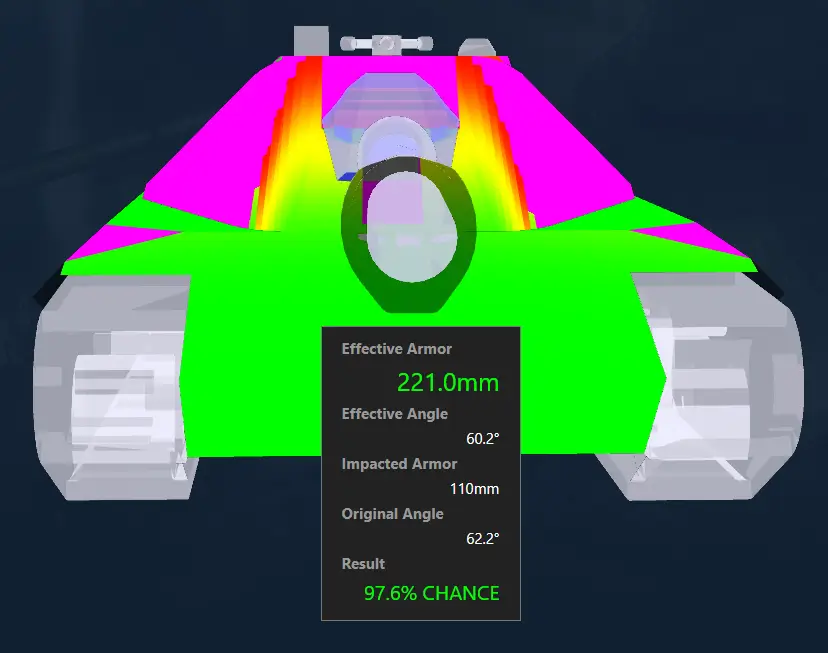
This is a French tier 8 premium TD. It seems like the standard stuff from the French TD, an autoloader, in this case with 4 shells in the clip, 2.5 s intraclip reload, and 40 seconds for the full clip reload. Frontal armor is really decent, actually, with not weakspots at the top of the vehicle, as is usually the case with Foch TDs. But this tank is a lot more flexible than the Foch tanks due to the fact that it has an extra 20 degrees of horizontal gun traverse, which makes playing the tank a lot more comfortable. It seems like a pretty good tank overall, could be a good credit maker.
I would bid up to 15 million for it.
Conclusion
If there are again going to be 5 tanks in the lootboxes, this would be my prediction:
- Serpente – Tier 9 Italian Medium
- Leox – Tier 9 French Medium
- Schwertwal – Tier 10 German Heavy
- SPHT – Tier 9 American Heavy
- Yong Bing – Tier 9 Chinese Heavy
- LTS-85 – Tier 8 Soviet light tank
- Kanonenjagdpanzer 2 – Tier 8 German TD
- SU-122V – Tier 9 Soviet TD
- Lorraine 120 Alby – Tier 9 French TD
Check out also these similar posts:
Best premium tanks in 2025 – Easy credit makers
Best premium tanks for bonds in 2025
Best tier 11 tanks in 2025
Good luck on the battlefield.